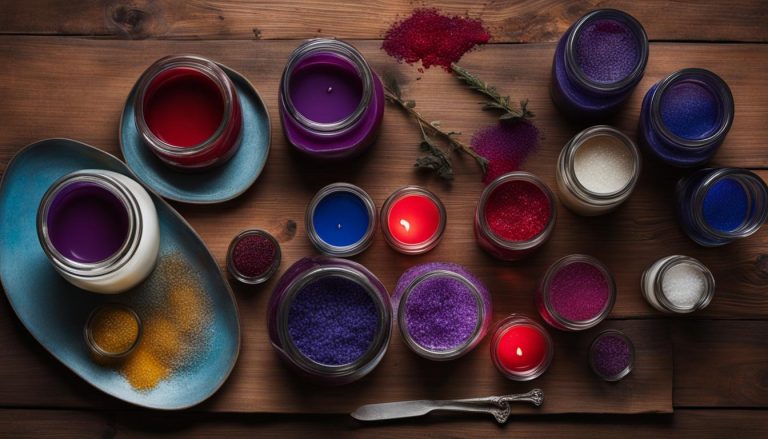
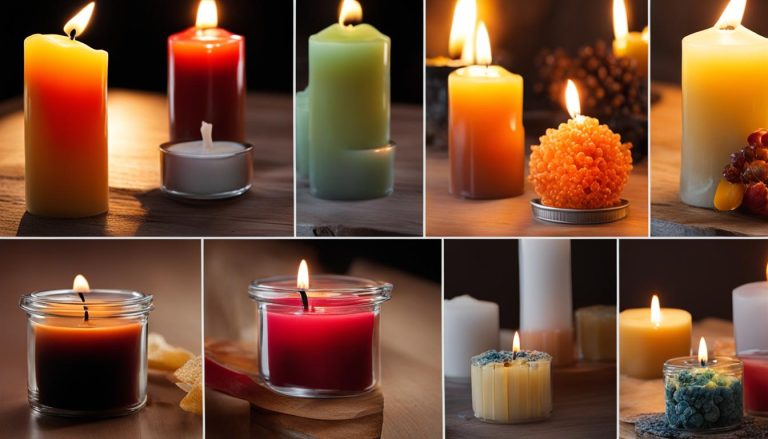
Efficient Wax Melting Tips for Candle Making
waxmelts.info and its partners may earn a commission if you purchase a product through one of our links
When it comes to creating homemade candles, melting wax is an essential step in the process. To ensure smooth and perfect results, it’s important to use efficient wax melting techniques. In this article, we will explore the best ways to melt wax for candles, including various methods and tips to streamline your candle making process. With these optimal wax melting methods, you’ll be able to melt wax for candles smoothly and effectively, resulting in high-quality candles every time.
Key Takeaways:
- The best way to melt wax for candles is using efficient wax melting techniques.
- Two popular methods for melting wax are using a double boiler and the microwave.
- Knowing how to melt wax can also help fix issues like tunneling or buried wicks.
- The temperature at which candle wax melts depends on the type of wax used.
- You can repurpose leftover candle wax by melting it to create new candles.
How to Melt Wax for Candle Making Using a Double Boiler
One of the most popular and effective methods for melting wax in candle making is using a double boiler. This method involves the use of a large pot or saucepan filled with water, and a smaller pouring container that holds the wax. By heating the water and placing the pouring container inside the larger pot, the wax melts gently and evenly. This technique ensures a smooth and consistent melt, allowing you to create high-quality candles.
Follow these steps to melt wax for candle making using a double boiler:
- Fill the larger pot or saucepan with water, ensuring that it is about one-third full.
- Place the pot or saucepan on the stove and heat the water over medium heat until it starts to simmer.
- While the water is heating, prepare the pouring container by adding the desired amount of candle making wax.
- Once the water in the pot or saucepan is simmering, place the pouring container inside and let it float on the water’s surface.
- As the water heats, it will gently melt the wax in the pouring container. Stir the wax occasionally with a heat-resistant utensil to ensure even melting.
- Continue heating until all the wax has melted into a smooth and liquid consistency.
- Once melted, carefully remove the pouring container from the double boiler setup and use it to pour the melted wax into your candle molds or containers.
- Allow the wax to cool and solidify before trimming the wicks and enjoying your homemade candles!
Tips for Using a Double Boiler:
- Choose a pouring container that is heat-resistant and suitable for melting wax.
- To prevent water from entering the pouring container, make sure it fits securely inside the larger pot or saucepan.
- Avoid overheating the water or wax, as extreme temperatures can affect the quality of the melted wax and the performance of the candles.
- Use caution when handling hot wax to prevent burns.
“Using a double boiler is a reliable and efficient wax melting technique for candle making. It allows for a smooth and consistent melt, ensuring high-quality candles every time.”
| Pros | Cons |
|---|---|
| Ensures gentle and even melting of wax | Requires additional equipment (large pot, pouring container) |
| Allows for better temperature control | Can be time-consuming |
| Minimizes the risk of overheating the wax | Requires careful handling to avoid burns |
How to Melt Wax for Candle Making in the Microwave
If you’re looking for a quick and convenient way to melt wax for candle making, using a microwave is an efficient option. This method works especially well when you need to melt small amounts of wax or don’t have access to a double boiler. Follow these steps to easily melt wax for candle making in the microwave:
- Prepare your wax: Cut the wax into small chunks or use wax pellets for faster melting.
- Use a microwave-safe container: Choose a microwave-safe glass or ceramic container dedicated to candle making.
- Add the wax: Place the wax chunks or pellets into the microwave-safe container. Ensure you don’t fill it completely to prevent overflow during melting.
- Heat on low power: Set your microwave to 50% power to ensure gentle and even melting. High power can cause the wax to overheat or create hot spots.
- Microwave in intervals: Heat the wax for short intervals of 30 seconds to 1 minute, depending on the amount of wax. Check and stir the wax gently between intervals to promote even melting.
- Monitor the temperature: Keep an eye on the wax temperature using a thermometer. Ensure it reaches the recommended melting point for your specific wax type.
- Remove and stir: Once the wax is completely melted, carefully remove the container from the microwave using oven mitts or heat-resistant gloves. Give it a good stir to ensure a smooth consistency.
Note: Microwaves may vary in power, so adjust the heating intervals and power percentage as needed. Always exercise caution when handling hot wax and use appropriate safety measures.
Using the microwave method for melting wax offers convenience and efficiency, especially when working with small batches. Remember to melt wax in a microwave-safe container, heat on low power, and monitor the temperature to achieve optimal results.
Tips for Melting Wax in the Microwave
To ensure a smooth and hassle-free wax melting process in the microwave, keep these tips in mind:
- Use a microwave-safe container with a spout or pouring lip for easy transfer of melted wax.
- Avoid overheating the wax by using low power settings, which reduce the risk of scorching or burning the wax.
- Stir the wax gently between intervals to distribute the heat evenly and prevent any wax from solidifying before melting completely.
- Consider melting wax in multiple smaller batches to ensure better control and consistency.
- Keep a close eye on the wax temperature to avoid exceeding the recommended melting point for your specific wax type.
By following these tips and guidelines, you can confidently and efficiently melt wax for candle making using a microwave, resulting in beautifully crafted candles.
How to Melt Wax to Fix a Candle
In addition to melting wax for candle making, knowing how to melt wax to fix a candle can be helpful when you encounter issues like tunneling or buried wicks. Here are two methods for melting wax to fix a candle:
Method 1: Using a Double Boiler
If you notice tunneling in your candle, where the wax has burned down leaving a hole in the middle, you can use a double boiler to fix it. Here’s how:
- Prepare a double boiler setup by filling a large saucepan or pot with water, and placing a smaller pouring container inside it.
- Cut small chunks of wax from another candle or use candle wax pellets and place them in the pouring container.
- Heat the water over low to medium heat until the wax in the pouring container melts completely.
- Once the wax has melted, carefully pour it into the tunneling hole of the candle. Fill the hole generously to ensure complete coverage.
- Allow the wax to cool and solidify before trimming the wick and lighting the candle again.
Method 2: Using a Hair Dryer
If you have a buried wick in your candle, where the wick is covered by a layer of hardened wax, you can use a hair dryer to fix it. Follow these steps:
- Position the candle on a heat-resistant surface.
- Using a hair dryer on the low heat setting, aim it at the area where the wick is buried.
- Melt the wax around the wick by applying gentle heat from the hair dryer.
- Once the wax becomes soft and pliable, gently pull the wick upward using tweezers or a candle wick trimmer.
- Trim the exposed wick to the desired length and relight the candle.
By using these methods, you can easily fix common candle issues like tunneling and buried wicks, allowing you to enjoy your candles to the fullest.

What Temperature Does Candle Wax Melt?
The temperature at which candle wax melts varies depending on the type of wax being used. Different candle waxes have different melting points, which can affect the overall candle-making process. Understanding the melting points of different candle waxes is essential for achieving the best results in your candle making endeavors.
Here are some common candle wax melting temperatures:
| Type of Candle Wax | Melting Point (in Fahrenheit) |
|---|---|
| Paraffin Wax | Approximately 125°F – 160°F |
| Soy Wax | Approximately 120°F – 180°F |
| Beeswax | Approximately 140°F – 150°F |
| Palm Wax | Approximately 130°F – 145°F |
To ensure successful wax melting, it’s important to use the appropriate temperature for each type of wax. If the temperature is too low, the wax may not melt completely, resulting in uneven candles. On the other hand, if the temperature is too high, the wax may become scorched or discolored. It is recommended to refer to the specific instructions provided by the wax manufacturer for optimal results.
To visually showcase the melting points of different candle waxes, refer to the table below:
Type of Candle Wax Melting Point (in Fahrenheit) Paraffin Wax Approximately 125°F – 160°F Soy Wax Approximately 120°F – 180°F Beeswax Approximately 140°F – 150°F Palm Wax Approximately 130°F – 145°F

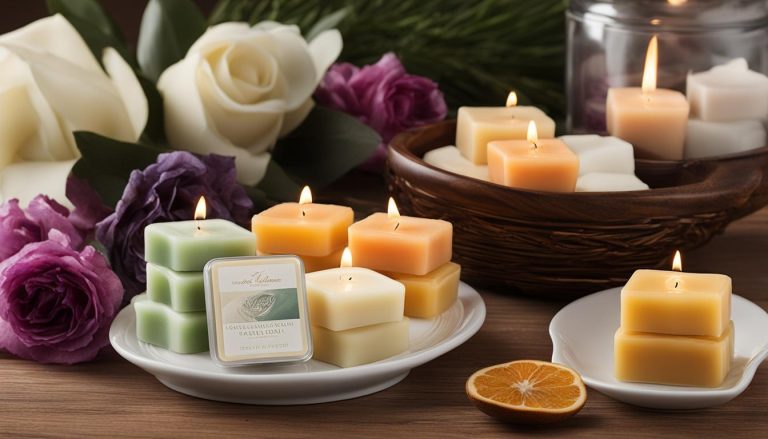
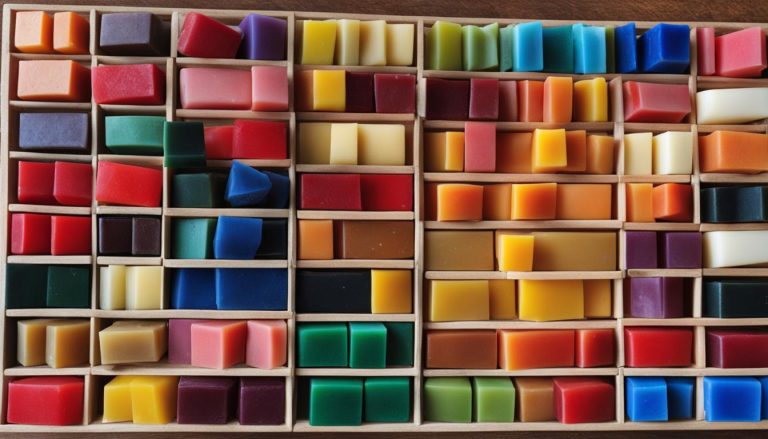
How to Melt Leftover Candle Wax
If you have leftover candle wax, there’s no need to let it go to waste. You can easily melt it down to repurpose or create new candles. Here’s a simple guide on how to melt leftover candle wax smoothly and efficiently:
1. Gather the leftover wax:
Collect all the bits and pieces of leftover candle wax, ensuring they are free from any debris or wick remnants. It’s best to separate them based on color or fragrance if you want to create layered or scented candles.
2. Prepare a double boiler:
Set up a double boiler or create one by placing a heat-safe pouring container inside a larger pot filled with water. The indirect heat will melt the wax evenly without the risk of scorching or burning.
3. Heat and melt the wax:
Place the double boiler on the stove over medium heat and allow the water to simmer gently. Add the leftover candle wax to the pouring container and let it melt slowly. Stir occasionally with a heat-resistant utensil to ensure an even and smooth melt.
4. Pour or reuse the melted wax:
Once the leftover wax has completely melted, carefully pour it into your desired molds or containers to create new candles. Alternatively, you can also reuse the melted wax by incorporating it into existing candles to increase their burn time or fix any imperfections.
By following these simple steps, you can make the most out of your leftover candle wax and continue enjoying the art of candle making.
FAQ
What are some efficient wax melting tips for candle making?
To ensure smooth and perfect results, it’s important to use optimal wax melting methods. Some efficient tips include using a double boiler or microwave, stirring the wax consistently, and monitoring the temperature.
How do you melt wax for candle making using a double boiler?
Follow these steps to melt wax for candle making using a double boiler:
1. Fill a large pot or saucepan with water and place it on the stove.
2. Place a smaller pouring container inside the larger pot.
3. Add the desired amount of wax to the pouring container.
4. Heat the water over medium heat, allowing the wax to melt gently and evenly.
5. Stir the wax occasionally until it reaches the desired consistency.
How do you melt wax for candle making in the microwave?
Follow these steps to melt wax for candle making in the microwave:
1. Place the desired amount of wax in a microwave-safe container.
2. Heat the wax in the microwave in short, 30-second bursts, stirring between each burst.
3. Continue heating and stirring until the wax is completely melted and smooth.
How do you melt wax to fix a candle?
There are two methods for melting wax to fix a candle:
1. Double boiler method: Follow the steps mentioned earlier for melting wax using a double boiler. Once the wax is melted, pour it into the candle container to fix any issues like tunneling or buried wicks.
2. Heat gun or blow dryer method: Point a heat gun or blow dryer at the affected area of the candle and apply heat until the wax is melted. Use a tool, like a toothpick, to reshape the wax and fix any issues.
What temperature does candle wax melt?
The melting temperature of candle wax varies depending on the type of wax used. Here are some common candle wax melting temperatures:
– Beeswax: 145 to 147 degrees Fahrenheit
– Soy wax: 120 to 150 degrees Fahrenheit
– Paraffin wax: 130 to 150 degrees Fahrenheit
– Gel wax: 160 to 170 degrees Fahrenheit
How do you melt leftover candle wax?
If you have leftover candle wax, you can melt it to repurpose or create new candles. Here’s how:
1. Gather your leftover candle wax and break it into smaller pieces.
2. Place the wax pieces in a heat-resistant container.
3. Use a double boiler or microwave method to melt the wax, following the steps mentioned earlier.
4. Once melted, pour the wax into new candle molds or containers to create new candles.