Homemade Wax Melts from Old Candles Guide
waxmelts.info and its partners may earn a commission if you purchase a product through one of our links
Are you looking for a creative way to repurpose your old candles? Look no further! In this guide, we will show you how to make homemade wax melts from candles. Not only is this a great way to utilize leftover wax, but it also allows you to create your own unique scents.
Key Takeaways:
- Repurpose old candles by transforming them into homemade wax melts.
- Melt the candle wax and prepare it for the wax melt making process.
- Choose the right type of wax for your wax melts based on your preferences and needs.
- Add fragrance to your wax melts using essential oils or candle fragrance oils.
- Select the appropriate molds for shaping your wax melts.
How to Melt Candle Wax and Prepare for Wax Melt Making
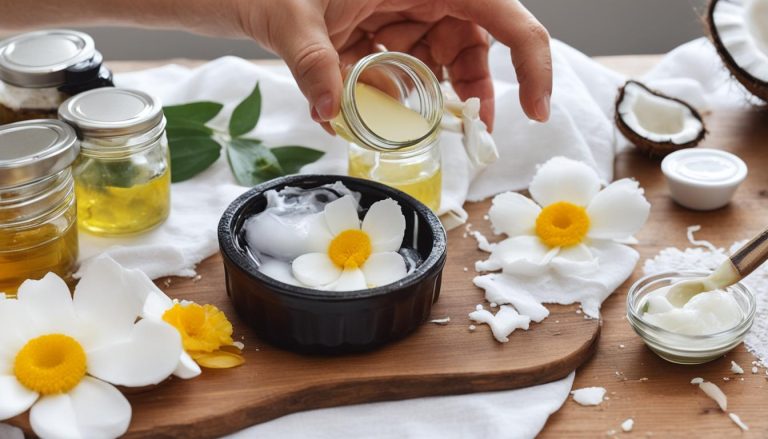
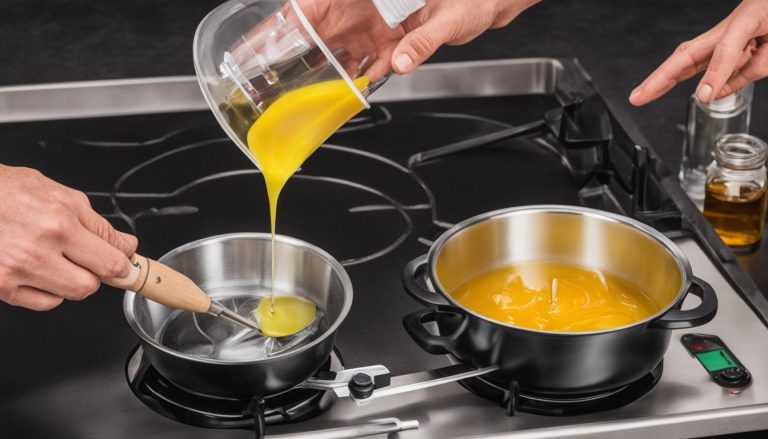
Before you can make wax melts from candles, you need to melt the candle wax and prepare it for the wax melt making process. It’s important to understand that different types of wax have different melting points, so the method of melting may vary depending on the type of wax you are using.
If you have small candle remnants, you can easily melt the wax by setting the candle in a small pan over a large pan of simmering water. This indirect heat method ensures that the wax melts slowly and evenly, preventing overheating or burning.
For candles in jars, you have a couple of options. One option is to scoop out the soft wax using a spoon or a butter knife. Another option is to use boiling water or freezing methods to remove the wax from the jar. If you choose the boiling water method, place the jar in a pot of boiling water and let the wax melt. If you prefer the freezing method, simply place the jar in the freezer until the wax hardens and then remove it from the jar.
Once the wax is melted, it’s important to remove any old wicks or debris to ensure that the wax is clean and free from impurities. This will result in high-quality wax melts that burn evenly and release a beautiful fragrance.
Pro Tip: If you’re reusing candle wax from different candles, consider mixing different scents to create unique and personalized wax melt blends.
Now that you know how to melt the candle wax and prepare it for wax melt making, you’re ready to move on to the next step of the process – selecting the right wax for your wax melts. Let’s explore the different options and find the perfect wax for your wax melt creations.
| Type of Wax | Melting Point | Characteristics |
|---|---|---|
| Paraffin Wax | 120-150°F | Readily available, easy to melt |
| Soy Wax | 120-140°F | Natural, eco-friendly option |
| Beeswax | 140-160°F | Natural, subtle honey scent |
Selecting the Right Wax for Wax Melt Making
When it comes to making wax melts from candles, choosing the right type of wax is crucial. Different types of candle wax have different characteristics, melting points, and performance levels. The two most common types of wax used for wax melt making are paraffin wax and soy wax.
Paraffin Wax:
Paraffin wax is a widely available and popular choice for making wax melts. It is a petroleum-based wax that has a low melting point, allowing it to melt quickly and release fragrance effectively. Paraffin wax is known for its excellent scent throw, which means it disperses fragrance particles well when melted. It also provides a smooth and glossy finish to the wax melts. If you’re looking for an affordable and easily accessible option, paraffin wax is a great choice.
Soy Wax:
Soy wax is a natural and eco-friendly alternative to paraffin wax. It is made from soybean oil and is known for its clean-burning properties. Soy wax has a higher melting point compared to paraffin wax, which means it takes longer to melt but can hold fragrance for a longer time. It is a popular choice among those who prefer natural and sustainable options. Soy wax also has a creamy and matte appearance when solidified, giving your wax melts a unique aesthetic appeal.

Other Types of Candle Wax:
In addition to paraffin wax and soy wax, there are other types of candle wax available, such as beeswax, coconut wax, and palm wax. Beeswax is a natural wax produced by bees and is known for its pleasant natural scent. Coconut wax is made from the oil of coconuts and offers a clean, slow-burning experience. Palm wax is another natural wax derived from palm oil and creates unique crystalline patterns in wax melts. Each type of wax has its own benefits and characteristics, so you can explore and experiment to find the perfect wax for your wax melt making.
Adding Fragrance to Wax Melts
One of the key components of wax melts is the fragrance. Adding scent to your wax melts is a crucial step in creating a delightful aromatic experience. You have two options for adding fragrance to your wax melts: using essential oils or candle fragrance oils.
Essential oils offer a natural and aromatic option for scenting your wax melts. These oils are derived from plants and have a wide range of scents to choose from. Lavender, eucalyptus, and citrus are popular choices that can create a refreshing and calming atmosphere in your home. When using essential oils, remember that they are highly concentrated, so a little goes a long way.
Pro Tip: When using essential oils, start with a small amount and gradually add more until you achieve your desired scent strength.
On the other hand, candle fragrance oils are specifically formulated for use in candles and wax melts. They offer a broader selection of scents, including popular ones like vanilla, cinnamon, and fresh linen. These fragrance oils are designed to withstand the high temperatures of burning wax, ensuring a long-lasting scent throw.
| Essential Oils | Candle Fragrance Oils |
|---|---|
|
|
When adding fragrance to your wax melts, it’s essential to follow the recommended guidelines for the amount of fragrance to use based on the weight of the wax. This will ensure that the scent is not overpowering and that the wax melts release a pleasant fragrance when melted.
Whether you choose essential oils or candle fragrance oils, adding fragrance to your wax melts allows you to create a personalized and inviting atmosphere in your home.

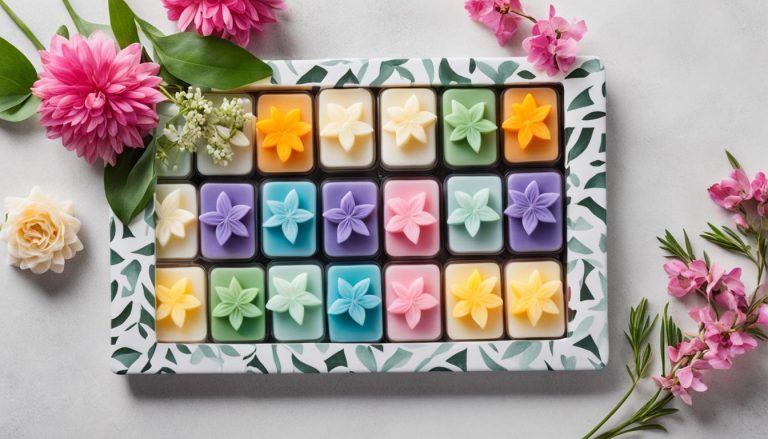
Mold Options for Wax Melt Making
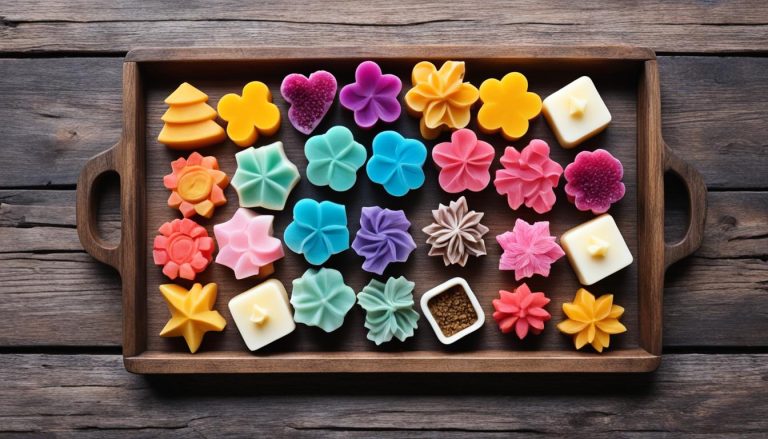
To shape your wax melts, you will need suitable molds. There are different types of molds available for wax melt making, including silicone molds and clamshell molds.
Silicone Molds:
Silicone molds are a popular choice for wax melt making due to their flexibility and ease of use. These molds are made from food-grade silicone and come in various shapes and sizes, allowing you to create unique and decorative wax melts. The flexibility of silicone molds makes it easy to remove the wax melts once they have solidified, ensuring a clean and smooth finish. Silicone molds are also durable and can be reused multiple times, making them a cost-effective option.
Clamshell Molds:
If you’re looking for a convenient way to package and store your wax melts, clamshell molds are a great option. These molds resemble small plastic containers with cavities that hold the wax melts. Clamshell molds provide a professional and finished look to your wax melts, making them ideal for gifting or selling. The individual compartments in the mold allow for easy separation and transportation of the wax melts. Clamshell molds are specifically designed for wax melts and are available in various sizes to accommodate different quantities of wax melts.
When choosing molds for your wax melts, consider the following factors:
- The desired shapes of your wax melts
- The quantity of wax melts you want to make
Having a variety of mold options can help you unleash your creativity and experiment with different shapes and sizes for your wax melts.
| Mold Type | Pros | Cons |
|---|---|---|
| Silicone Molds | Flexible and easy to use | Can be more expensive than other molds |
| Clamshell Molds | Convenient packaging and storage | May require additional labeling |
Choose the mold type that best suits your needs and preferences. Remember to consider the quality, durability, and cost-effectiveness of the molds when making your selection.
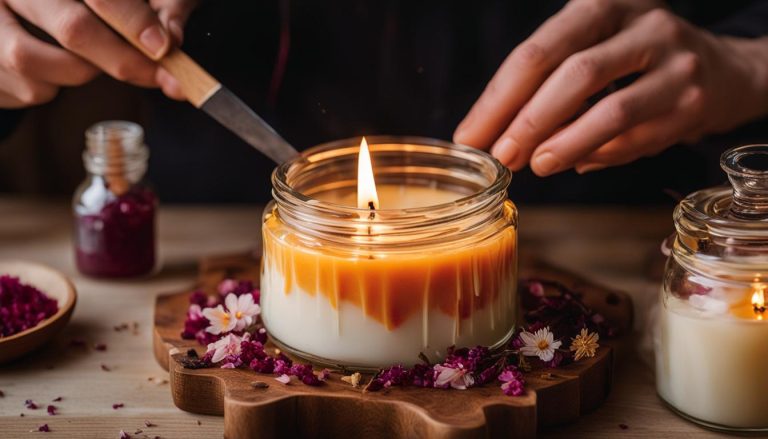
Pouring and Cooling Wax Melts
Once you have melted your wax, added fragrance, and prepared your molds, it’s time to pour the wax into the molds and let them cool. Carefully pour the wax into the molds, ensuring that they are completely filled. Allow the wax melts to cool and solidify before removing them from the molds. The cooling time may vary depending on the type of wax and the size of the wax melts. It’s best to follow the specific instructions for the wax you are using and exercise patience to ensure that the wax melts are fully set.
Curing Wax Melts for Maximum Fragrance
To enhance the fragrance of your wax melts, it’s recommended to let them cure for a period of time. Curing allows the fragrance and wax to bind together, resulting in a stronger and longer-lasting scent when melted.
Place your freshly made wax melts in an airtight container or plastic bag and let them sit for at least 7-10 days. This will allow the fragrance to fully develop and infuse into the wax. After the curing period, your wax melts will be ready to use and will provide a delightful aroma when melted.
Benefits of Curing Wax Melts
Curing your wax melts not only enhances their fragrance but also improves their overall quality and performance. During the curing process, the fragrance oils or essential oils blend with the wax, resulting in a more cohesive and balanced scent profile. The wax also has time to fully set and harden, ensuring that your wax melts hold their shape and release the fragrance consistently when melted.
Additionally, curing allows any excess moisture in the wax to evaporate, preventing potential issues such as sweating or discoloration. This ensures that your wax melts remain visually appealing and do not lose their fragrance potency over time.
Proper Storage of Cured Wax Melts
Once your wax melts have finished curing, it’s important to store them properly to maintain their fragrance and quality. Here are some tips for storing your cured wax melts:
- Keep them in an airtight container or resealable plastic bag to prevent exposure to air, moisture, and other odors.
- Avoid placing them in direct sunlight or near heat sources, as this can cause the wax to soften or melt.
- Store them in a cool, dry place to preserve their fragrance and prevent any potential mold or mildew growth.
- Label your containers or bags with the name of the scent and the date of when the wax melts were made for easy identification.
Following these storage guidelines will ensure that your cured wax melts maintain their fragrance and quality for an extended period, allowing you to enjoy their delightful aroma whenever you choose to melt them.
Now that you’ve learned about the importance of curing and storing your wax melts, it’s time to move on to the next section and discover tips for enjoying your homemade wax melts to the fullest.
Benefits of Curing Wax Melts
| Benefits | Description |
|---|---|
| Enhanced Fragrance | The curing process allows the fragrance and wax to bind together, resulting in a stronger and longer-lasting scent when melted. |
| Improved Quality | Curing ensures that the wax fully sets and hardens, providing a consistent shape and fragrance release when melted. |
| Evaporation of Excess Moisture | Curing helps remove any excess moisture in the wax, preventing issues like sweating or discoloration. |
| Extended Shelf Life | Properly cured wax melts can maintain their fragrance potency and quality for a longer period. |
Enjoying Your Homemade Wax Melts
Now that your homemade wax melts have been fully cured, it’s time to indulge in their enchanting fragrance. Simply place a wax melt into a wax melt burner or warmer and allow the gentle heat to melt the wax, releasing its captivating aroma into the air. Wax melts serve as an excellent and safe alternative to traditional candles, as they eliminate the need for an open flame. They effortlessly fill your living space with a delightful scent, creating a cozy and inviting atmosphere.
With wax melts, you have the opportunity to explore a variety of scents and combinations, unleashing your creativity to concoct your very own unique wax melt blends. Whether you prefer a subtle floral aroma or a cozy vanilla scent, the possibilities are endless. Surround yourself with the captivating scents that bring you comfort and joy.
Experience the myriad of benefits that wax melts have to offer. Apart from their alluring fragrances, they are incredibly easy to use. No wick-trimming, no mess, and no smoke. Just pure sensory bliss. Additionally, wax melts provide a longer lasting aroma compared to traditional candles, ensuring that your space remains filled with delightful scents for extended periods.
So, sit back, relax, and immerse yourself in the aromatic experience of your homemade wax melts. Revel in the comforting ambiance they create, and let their captivating fragrances transport you to a place of pure bliss. Treat yourself and your loved ones to the joy of wax melts—you deserve it.
FAQ
How do I melt candle wax to make wax melts?
To melt candle wax, you can place small candle remnants in a small pan over a larger pan of simmering water. For candles in jars, you can either scoop out the soft wax or use boiling water or freezing methods to remove the wax from the jar. It’s important to remove any old wicks and ensure that the wax is clean before using it for wax melt making.
What type of wax should I use for making wax melts?
There are various types of candle wax available, including paraffin wax, soy wax, and beeswax. Each type of wax has its own melting point and characteristics. Paraffin wax is commonly used and melts easily. Soy wax is a popular choice for a natural and eco-friendly option. Choose the wax that best suits your preferences and needs.
How can I add fragrance to my wax melts?
You can add scent to your wax melts using essential oils or candle fragrance oils. Essential oils offer a natural and aromatic option, while candle fragrance oils provide a wide range of scent options specifically designed for use in candles and wax melts. Follow recommended guidelines for the amount of fragrance to use based on the weight of the wax.
What type of molds can I use for making wax melts?
Silicone molds are a popular choice for wax melt making due to their flexibility and ease of use. They come in various shapes and sizes, allowing you to create unique and decorative wax melts. Clamshell molds, made specifically for wax melts, provide a convenient way to package and store the wax melts.
How do I pour and cool wax melts?
Carefully pour the melted wax into the molds, ensuring they are completely filled. Allow the wax melts to cool and solidify before removing them from the molds. The cooling time may vary depending on the type of wax and the size of the wax melts.
How long should I cure my wax melts?
To enhance the fragrance of your wax melts, it’s recommended to let them cure for at least 7-10 days after they have solidified. Place them in an airtight container or plastic bag during this period to allow the fragrance to fully develop and infuse into the wax.
How do I use my homemade wax melts?
Place a wax melt in a wax melt burner or warmer, and let the heat gently melt the wax, releasing the fragrance into the air. Wax melts provide a safe and convenient alternative to traditional candles, as they do not require an open flame. Experiment with different scents and combinations to create your own unique wax melt blends.