DIY Guide: Make Your Own Wax Melts at Home
waxmelts.info and its partners may earn a commission if you purchase a product through one of our links
Making your own wax melts at home is a fun and creative way to save money while enjoying your favorite scents. Unlike candles, wax melts are easy to make and provide more options for customization in terms of scents, shapes, and sizes. They are also safer, longer-lasting, and cleaner than traditional candles. In this DIY guide, we will walk you through the step-by-step process of making your own wax melts using simple ingredients like beeswax, coconut oil, and essential oils. Get ready to unleash your creativity and fill your home with delightful aromas!
Key Takeaways
- Making your own wax melts allows for customization in terms of scents, shapes, and sizes.
- Wax melts are safer, longer-lasting, and cleaner than traditional candles.
- The DIY process for making wax melts involves simple ingredients like beeswax, coconut oil, and essential oils.
- Creating wax melts at home is a rewarding and creative experience.
- DIY wax melts can be a unique and thoughtful gift idea for loved ones.
What Are Wax Melts and Why Are They Popular?
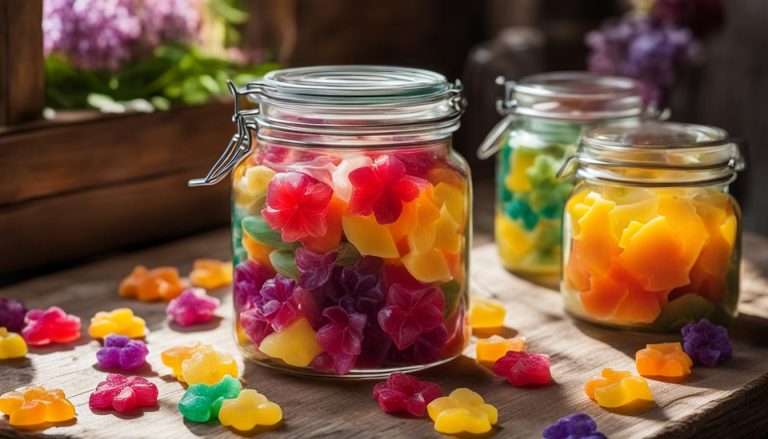
Wax melts are blocks of aromatic wax and oil that are used with a wax warmer to diffuse scents in your home. They have gained popularity as a preferred alternative to traditional scented candles for several reasons.
- Safer and Longer-lasting: Unlike candles, wax melts are flame-free. This makes them ideal for homes with children or pets, providing peace of mind while enjoying beautiful fragrances. Additionally, wax melts tend to last longer compared to candles, allowing you to enjoy continuous scent throughout the day.
- Customization Options: With wax melts, you have the freedom to create your own unique scent combinations or choose from a wide variety of pre-made options. This level of customization adds a personal touch to your home fragrance experience.
- Natural Air Fresheners: When made with organic ingredients, wax melts can serve as natural air fresheners. Unlike chemical-laden alternatives, they provide a clean and fresh aroma without compromising your indoor air quality.
- Clean Aromatherapy: Wax melts don’t produce soot like burning candles, making them a cleaner option for enjoying aromatherapy. You can breathe easy knowing that you’re indulging in a flame-free and mess-free fragrance experience.
Whether you’re looking to create a relaxing ambiance, mask household odors, or simply enjoy the benefits of clean aromatherapy, wax melts offer a versatile solution for every home.
To further illustrate the popularity of wax melts, take a look at the following data:
| Statistic | Percentage |
|---|---|
| Households that use wax melts as air fresheners | 82% |
| Wax melts sales growth in the past year | 105% |
| Most popular wax melt fragrances |
|
As you can see, the demand for wax melts continues to rise, driven by their appeal as a flame-free, customizable, and clean alternative to traditional scented candles.
Ingredients and Equipment for Making Wax Melts
Before you embark on the exciting journey of making your own wax melts, it’s important to gather all the necessary ingredients and equipment. Here’s what you’ll need:
Ingredients:
- Beeswax pellets
- Coconut oil
- Essential oils (choose your favorite scents)
- Coloring agents (optional)
Equipment:
- Double boiler or a heat-resistant glass bowl and saucepan
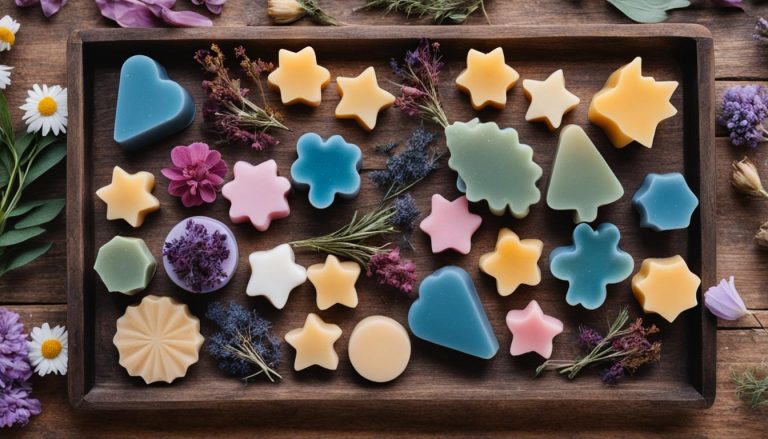
- Wax melt molds (silicone molds work best)
- Measuring cups and spoons
- Stirring utensils (wooden or silicone spatula)
- Thermometer (for precise temperature control)
- Wax paper or parchment paper
Gathering these ingredients and equipment will ensure a smooth and enjoyable wax melt making experience. Now that you have everything you need, let’s move on to the step-by-step guide on how to make scented wax melts!

Step-by-Step Guide: How to Make Scented Wax Melts
Follow these step-by-step instructions to make your own scented wax melts:
Gather Your Ingredients and Equipment
To make homemade wax melts, you will need the following:
- 1 pound of soy wax flakes
- 1 ounce of fragrance oil of your choice
- Wax melt molds (silicone molds work well)
- Wax melt clamshells (for packaging)
- Double boiler or microwave-safe container
- Thermometer
- Stirring utensil (such as a spoon or disposable chopstick)
- Scale (for precise measurements)
-
Melt the Wax
Using a double boiler or microwave-safe container, melt the soy wax flakes until fully melted and liquid. If using a microwave, heat the wax in short bursts, stirring in between each burst to ensure even melting. Use a thermometer to monitor the temperature; make sure it reaches around 180°F (82°C).
-
Add the Fragrance Oil
Once the wax has reached the desired temperature, carefully add 1 ounce of fragrance oil. Stir gently to combine the fragrance oil with the melted wax.
-
Pour the Mixture into Molds
Pour the scented wax mixture into your chosen molds, filling them to the desired level. Allow the wax to cool and solidify completely before moving on to the next step.
-
Remove and Package the Wax Melts
Once the wax melts have hardened, carefully remove them from the molds. Place the wax melts into individual compartments of wax melt clamshells or other packaging options of your choice.

Pro Tip: To add an extra touch of creativity, consider mixing different scented wax melts in one package to create unique fragrance combinations for your customers or personal use.
That’s it! You have now successfully made your own scented wax melts. Enjoy the beautiful aromas that will fill your home or share them with your loved ones as thoughtful handmade gifts!
DIY Pumpkin Spice Wax Melt Recipe
If you’re a fan of pumpkin spice, you’ll love this DIY recipe for pumpkin spice wax melts. These aromatic melts will fill your space with the cozy and inviting scent of pumpkin spice, creating a warm and comforting ambiance in your home.
Ingredients:
- 1 cup of beeswax pellets
- 1/4 cup of coconut oil
- 10 drops of organic cinnamon essential oil
- 5 drops of organic ginger essential oil
- 5 drops of organic nutmeg essential oil
- 5 drops of organic clove bud essential oil
- 3 drops of organic cardamom essential oil
Instructions:
- In a double boiler, melt the beeswax pellets and coconut oil together over low heat.
- Once melted, remove from heat and let it cool for a few minutes.
- Add the organic cinnamon essential oil, organic ginger essential oil, organic nutmeg essential oil, organic clove bud essential oil, and organic cardamom essential oil to the mixture. Stir well to combine.
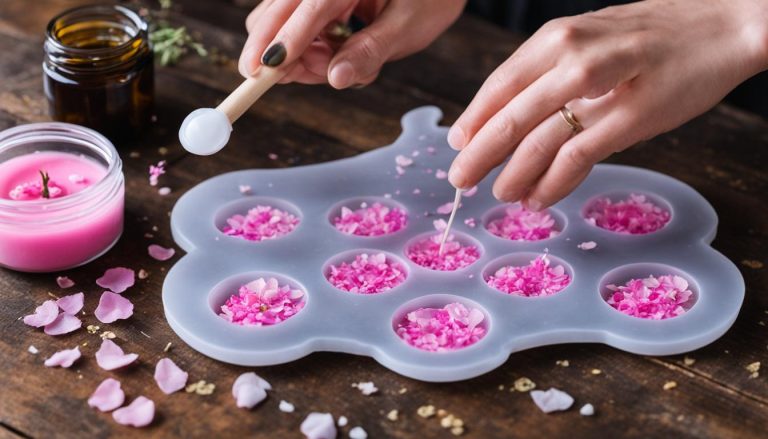
- Pour the mixture into silicone molds or ice cube trays. Allow it to harden completely.
- Once hardened, remove the wax melts from the molds or trays.
- Place a pumpkin spice wax melt in a wax warmer and enjoy the cozy aroma that fills your space.
These homemade pumpkin spice wax melts make a wonderful addition to your home decor or a thoughtful gift for friends and family. Simply pop a wax melt into your wax warmer, and let the delightful scent of pumpkin spice envelop your space. Enjoy the warm and inviting ambiance that these wax melts create, especially during the fall season.
Wax Melt Making Tips and Pro Tricks
Enhance your wax melt making experience with these helpful tips and tricks:
- Use high-quality ingredients: Start with premium-quality wax, fragrance oils, and essential oils to ensure the best results. Choosing organic and natural ingredients can also enhance the scent and quality of your wax melts.
- Experiment with fragrance combinations: Don’t be afraid to mix different fragrance oils or essential oils to create unique scent combinations. You can create your signature scents by blending different aromas together. For example, try combining lavender and vanilla for a calming and soothing fragrance.
- Measure carefully: Accurate measurements are essential for consistent results. Use a kitchen scale to measure your ingredients precisely, ensuring the right ratio of wax to fragrance oils. This will help you achieve optimal scent throw and performance.
- Monitor the wax temperature: Maintain a stable temperature while melting the wax to prevent it from overheating or burning. Use a thermometer to monitor the wax temperature and adjust the heat accordingly. This will ensure that your wax melts set properly and have a smooth finish.
- Choose the right wax melt molds: Consider using silicone molds for easy removal of wax melts. Silicone molds are flexible and make it easier to pop out the finished wax melts without any breakage or damage. They are also easy to clean and reuse for future batches.
- Let your wax melts cure: After pouring the melted wax into the molds, allow them to cool and solidify completely. This process, known as curing, allows the fragrance to fully develop and strengthens the scent throw. Curing can take anywhere from a few hours to a few days, depending on the type of wax and fragrance used.
- Freshen up your wax melts: Over time, the scent of your wax melts may fade. To freshen them up, simply place the wax melts on a wax warmer and warm them for a short duration. This will reactivate the fragrance, making your space smell delightful again.
- Keep your wax warmer clean: Regularly clean your wax warmer to prevent any residue buildup. This will ensure that the scent of your wax melts remains pure and doesn’t get contaminated by old wax. Simply wipe the warmer with a clean cloth or use a mild soap solution for a thorough cleaning.
By following these wax melt making tips and pro tricks, you’ll be able to create beautiful, aromatic wax melts that fill your space with delightful scents. Get creative, experiment with different fragrances, and enjoy the sensory experience of wax melt making.
Common Wax Melt Making Problems and Solutions
| Problem | Solution |
|---|---|
| The wax melts have poor scent throw. | Use a higher fragrance oil concentration and let your wax melts cure for a longer period. |
| The wax melts don’t release easily from the mold. | Consider using silicone molds that allow for easy removal, or use a freezer to loosen the wax melts. |
| The melted wax overheats and burns. | Monitor the wax temperature closely and adjust the heat source accordingly. Avoid overheating the wax. |
| The wax melts have an uneven surface. | Pour the melted wax slowly and avoid introducing air bubbles. If necessary, use a heat gun or a torch to remove any surface imperfections. |
| The wax melts lose their fragrance over time. | Store your wax melts in airtight containers or bags to preserve their fragrance. Additionally, try refreshing them by warming them slightly on a wax warmer. |
Conclusion: Embrace the Creativity of DIY Wax Melts
Making your own wax melts at home is a rewarding and creative experience. Not only do you have the freedom to choose from a wide range of scents and shapes, but you also get to enjoy the process of crafting something unique. Whether it’s the cozy scent of pumpkin spice or a personalized aroma blend, DIY wax melts allow you to personalize your home fragrance experience.
Not only are DIY wax melts a great way to enhance the ambiance of your living space, but they also make for a thoughtful and unique DIY gift idea. Show your loved ones how much you care by creating a custom blend just for them and pairing it with a beautiful wax warmer. It’s a gift that will impress and bring a smile to their face.
Embrace your creativity and start making your own wax melts today. With a few simple ingredients and a little bit of time, you’ll be able to fill your home with delightful aromas that are uniquely yours. So why wait? Grab your supplies, unleash your imagination, and let your DIY wax melts elevate your sensory experience at home.
FAQ
Why should I make my own wax melts at home?
Making your own wax melts at home allows you to save money while enjoying your favorite scents. It also provides more options for customization in terms of scents, shapes, and sizes. Homemade wax melts are safer, longer-lasting, and cleaner than traditional candles.
What are wax melts?
Wax melts are blocks of aromatic wax and oil that are used with a wax warmer to diffuse scents in the home. They are a popular alternative to traditional scented candles.
Why are wax melts popular?
Wax melts are popular because they are safer, longer-lasting, and provide more customization options than traditional scented candles. They are flame-free and don’t produce soot, making them ideal for homes with children or pets. They also serve as natural air fresheners when made with organic ingredients.
What ingredients and equipment do I need to make wax melts?
To make your own wax melts, you’ll need ingredients like beeswax, coconut oil, and essential oils. You’ll also need equipment such as a double boiler, a silicone mold or ice cube tray, and a thermometer.
How do I make scented wax melts?
Follow these step-by-step instructions to make scented wax melts at home: melt the beeswax and coconut oil, add the desired amount of essential oil, pour the mixture into the molds, let it cool and harden, and remove the wax melts from the molds.
Can you provide a recipe for pumpkin spice wax melts?
Sure! Here’s a DIY recipe for pumpkin spice wax melts: melt 1 cup of beeswax and 1/4 cup of coconut oil in a double boiler, add 10 drops of organic cinnamon essential oil, 5 drops of organic ginger essential oil, 5 drops of organic nutmeg essential oil, 3 drops of organic clove bud essential oil, and 2 drops of organic cardamom essential oil, pour the mixture into pumpkin-shaped molds, let it cool and harden, and remove the wax melts from the molds.
Any tips for making wax melts?
Yes! Here are some tips and tricks to enhance your wax melt making experience: experiment with different scent combinations, add dried flowers or herbs for visual appeal, use a wax warmer to freshen up old wax melts, and clean the wax warmer regularly to maintain optimal performance.
How can I customize my wax melts?
You can customize your wax melts by choosing different scents, adding colorants or glitter, using different shapes and sizes of molds, and experimenting with unique ingredient combinations.
Can I give homemade wax melts as a gift?
Absolutely! Homemade wax melts make for a thoughtful and unique DIY gift idea. Pair them with a beautiful wax warmer for a complete gift package.
Why should I use a wax warmer?
A wax warmer is used to heat and melt the wax melts, releasing their scent into the air. It is a safer alternative to burning candles and allows for a continuous, long-lasting fragrance experience.
How do wax melts compare to chemical air fresheners?
Wax melts made with organic ingredients serve as natural air fresheners that are safer than chemical-laden alternatives. They provide a clean and pleasant aroma without releasing harmful toxins into the air.