DIY Guide: How to Make Your Own Wax Melts
waxmelts.info and its partners may earn a commission if you purchase a product through one of our links
Learn how to make your own wax melts at home with this simple DIY guide. Wax melts are small pieces of scented wax that are heated in an electric wax warmer to release their fragrance. They have become a popular alternative to scented candles due to their ease of use and safety. In this guide, we will teach you step-by-step how to make your own wax melts using paraffin or soy wax. Get ready to unleash your creativity and enjoy homemade scents that will fill your home with a delightful aroma.
Key Takeaways:
- Wax melts are small pieces of scented wax that are melted in an electric wax warmer.
- They are a safer alternative to burning scented candles as they do not have an open flame.
- Soy wax is preferred for DIY wax melts due to its ease of use and clean-up.
- Wax melt molds include silicone candy molds and disposable clamshell molds.
- Experiment with adding botanicals, micas, and glitter for a unique touch.
What Are Wax Melts and How Are They Different From Candles?
Wax melts are small pieces of scented wax that are melted in an electric wax warmer to release their fragrance. They offer a safer alternative to burning scented candles since they do not have an open flame. This makes them ideal for use in apartments and places where candles are not allowed due to fire safety regulations.
Although scented candles and wax melts share similar ingredients, such as paraffin or soy wax, fragrance oils, and wax dye, they differ in their composition and use. Wax melts are poured into molds to create smaller pieces in various shapes and sizes, while candles are crafted with a wick and are generally larger in size. The absence of a wick in wax melts allows them to be conveniently melted and reused multiple times.
Did you know? Wax melts are also commonly known as wax tarts, wax cubes, or wax blocks. These terms are often used interchangeably to describe the same product.
By using wax melts, you can enjoy a continuous fragrance experience without worrying about monitoring an open flame. Plus, the versatility of wax melts allows you to combine different scents to create your own unique fragrance blends.
Now that you know what wax melts are and how they differ from candles, you can explore the world of wax melts and discover the wonderful aromas they can bring to your space.
| Wax Melts | Scented Candles | |
|---|---|---|
| Fragrance release | Requires an electric wax warmer | Burning of the wick |
| Flame | No open flame | Requires an open flame |
| Size | Smaller pieces in various shapes | Generally larger |
| Reuse | Melted and reused multiple times | Consumed as the candle burns |
| Safety | Safe for apartments and places with fire restrictions | Requires caution when handling an open flame |
What’s the Best Wax for DIY Wax Melts?
You can use any kind of wax for DIY wax melts, but soy wax is often preferred due to its ease of use and clean-up. Soy wax has a lower melting point than other waxes, which gives you more time to work with it before it solidifies. This is especially helpful when making small wax melts and using an eye dropper to fill them.
Paraffin wax is another popular choice for DIY wax melts. It is slightly more difficult to work with and clean up, but it has a higher fragrance throw. Ultimately, the choice of wax depends on personal preference and the desired outcome of your wax melts.
Now, let’s take a closer look at the advantages and considerations for both types of wax.
Advantages of Soy Wax for DIY Wax Melts
- Soy wax is a natural, renewable resource, making it an eco-friendly choice.
- It has a lower melting point, which makes it easier to handle and pour into molds.
- Soy wax burns cleaner and produces less soot compared to other waxes.
- It has a slower burn time, allowing you to enjoy the fragrance of your wax melts for longer.

Considerations for Soy Wax
“Soy wax is a great option for beginners because it is easy to work with and has a cleaner burn. It’s also a sustainable and eco-friendly choice.” – Emily, DIY enthusiast
While soy wax is a fantastic choice for DIY wax melts, it’s essential to consider a few things:
- Soy wax has a softer texture, which can affect the shape and durability of your wax melts. Be cautious when handling them.
- The fragrance throw of soy wax may be milder compared to other waxes, so you may need to add a higher concentration of fragrance oils.
- Some individuals may have soy allergies, so it’s important to consider alternative wax options.
The Benefits of Paraffin Wax
- Paraffin wax is readily available and affordable, making it a popular choice for DIY projects.
- It has a higher melting point, resulting in a stronger fragrance throw and longer-lasting scents.
- Paraffin wax is easier to find in a variety of colors and is compatible with a wide range of fragrance oils.
Considerations for Paraffin Wax
“If you want a powerful scent throw and a long-lasting fragrance, paraffin wax is the way to go. It’s great for creating highly scented wax melts.” – Sarah, Wax Melt Expert
While paraffin wax has its benefits, there are a few things to keep in mind:
- Paraffin wax is derived from petroleum, which may not be as environmentally friendly as soy wax.
- It has a higher melting point, so you’ll need to work quickly when pouring it into molds.
- Clean-up can be slightly more challenging compared to soy wax.
Ultimately, whether you choose soy wax or paraffin wax for your DIY wax melts, both options offer unique benefits and can create wonderful scents for your home. Experiment with different fragrances, molds, and techniques to find your perfect wax melt recipe.
Wax Melt Molds and Ingredients
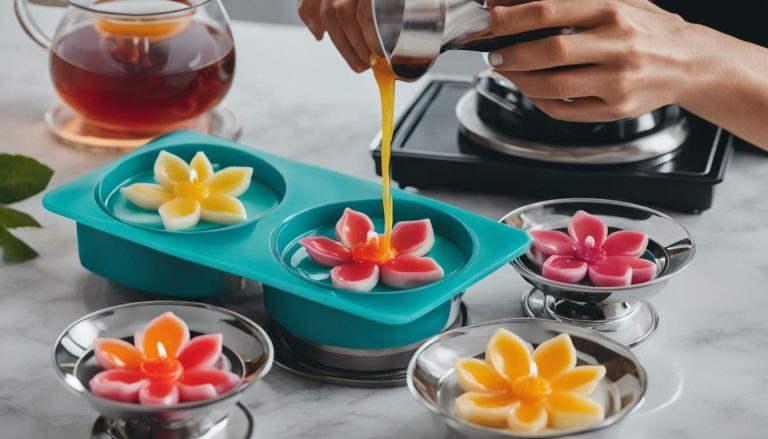
When making DIY wax melts, you have a variety of options for molds. Silicone candy molds are a popular choice as they can handle the heat and come in various fun shapes. Disposable clamshell molds are another option that gives your wax melts a professional look.
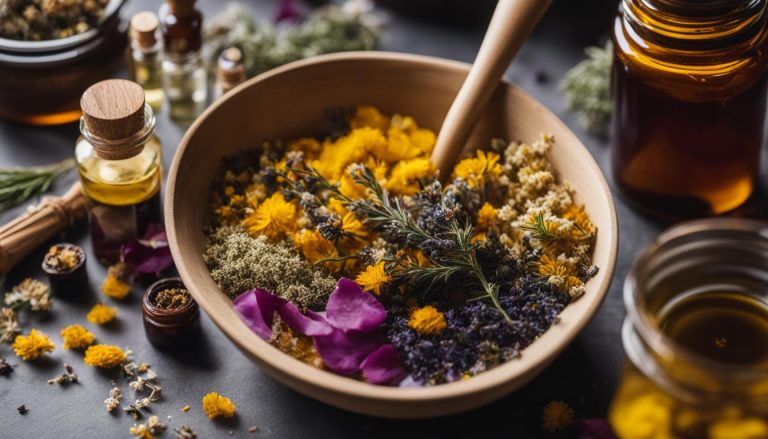
As for ingredients, you will need wax (either paraffin or soy wax), wax dye (optional), fragrance oil, and a digital meat thermometer to monitor the temperature. These are the basic ingredients and tools needed to make your own wax melts, but you can also experiment with adding botanicals, micas, and glitter for a unique touch.
For a complete table of wax melt molds, ingredients, and additional materials, refer to the table below:
| Wax Melt Molds | Ingredients | Additional Materials |
|---|---|---|
| 1. Silicone candy molds | 1. Wax (paraffin or soy) | 1. Botanicals (e.g., dried flowers) |
| 2. Disposable clamshell molds | 2. Wax dye (optional) | 2. Micas (for color variation) |
| 3. Fragrance oil | 3. Glitter (for added sparkle) | |
| 4. Digital meat thermometer |
Experimenting with different molds and ingredients allows you to create wax melts that reflect your personal style and preferences. Whether you choose to use silicone candy molds or disposable clamshell molds, and whether you add botanicals, micas, or glitter, the possibilities for customization are endless. Let your creativity flow and enjoy the process of making your own unique wax melts!

Step-by-Step Guide: How to Make Wax Melts
Follow these simple steps to make your own wax melts:
Gather Your Ingredients and Tools
Before you start making your wax melts, make sure you have all the necessary ingredients and tools ready:
- Wax (paraffin or soy wax)
- Wax dye (optional)
- Fragrance oil of your choice
- Double boiler or a heat-resistant container and a saucepan
- Thermometer
- Wax melt molds
- Mixing spoon or spatula
Having everything prepared beforehand will make the process smoother and more enjoyable.
Melt the Wax
Start by melting the wax in a double boiler or a heat-resistant container placed in a saucepan of boiling water. Use the thermometer to monitor the wax temperature and ensure it reaches the melting point recommended by the wax manufacturer.
Pro Tip: If you’re using soy wax, melt it at a lower temperature to avoid discoloration.
Add the Fragrance
Once the wax has melted, remove it from heat and let it cool down slightly. Add your chosen fragrance oil according to the recommended usage rate, typically around 1 ounce of fragrance oil per pound of wax. Stir the mixture gently to ensure the fragrance is evenly distributed.
Pro Tip: Experiment with different fragrance combinations to create unique scents.
Pour the Wax into Molds
Carefully pour the scented wax mixture into your wax melt molds. Fill each mold cavity to the desired level, leaving a little space for expansion. Allow the wax to cool and solidify completely before moving on.
Pro Tip: If you want to create layered or multi-colored wax melts, wait for the first layer to cool and partially solidify before pouring the next layer.
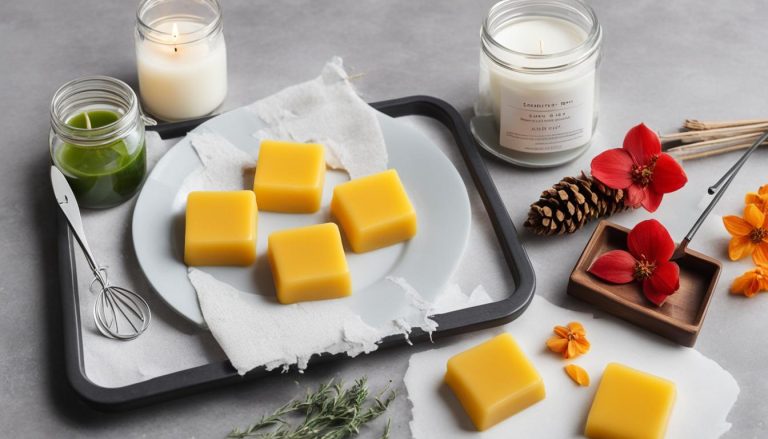
Unmold and Enjoy your Wax Melts
Once the wax has fully hardened, gently remove the wax melts from the molds. Press the bottom of each mold cavity to release the wax. Your homemade wax melts are now ready to be used in your favorite wax warmer.
Complete your wax melt creation by designing your own custom labels or packaging for a personal touch.
Now that you know the step-by-step process of making your own wax melts, let your creativity flow and create unique scents that will fill your home with a delightful aroma!
Tips and Ideas for Wax Melts
Looking to enhance your wax melts and take them to the next level? Here are some expert tips and ideas to help you create the perfect homemade wax melts:
1. Experiment with Different Fragrances: Don’t be afraid to mix and match different fragrance oils to create unique scents. Consider blending floral and fruity notes or combining warm and spicy aromas to find your signature fragrance.
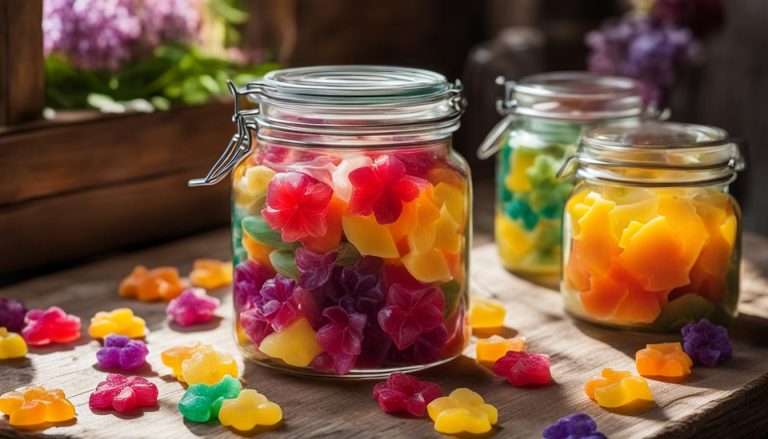
2. Use Natural Botanicals: Add a touch of nature to your wax melts by incorporating dried flowers, herbs, or spices. Not only will they add visual appeal, but they’ll also infuse your melts with a natural and earthy scent.
3. Layer Different Colors: Get creative with your wax melts by layering different colored waxes. Pour one color at a time, allowing each layer to cool and solidify before adding the next. This will create visually stunning melts that are as beautiful as they are fragrant.
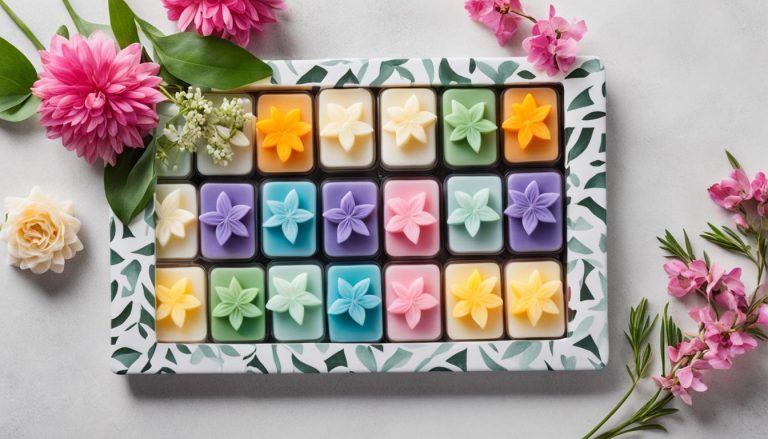
4. Experiment with Shapes: While traditional wax melts are often in cube or clamshell shapes, don’t be afraid to think outside the box. Explore various silicone molds to create unique shapes such as flowers, hearts, or even cute animal designs.
5. Temperature Control is Key: Pay attention to the temperature when working with wax. If the wax is too hot, it can cause fragrance oils to evaporate, resulting in weaker, less aromatic melts. Use a digital thermometer to ensure you stay within the recommended temperature range.
6. Let Your Wax Melts Cure: After pouring your wax melts, allow them to cure for at least 24 hours before using or packaging them. This will help the fragrance oils fully infuse into the wax, resulting in a stronger and longer-lasting scent.
With these tips and ideas, you’re equipped with expert advice on making wax melts. Get creative, experiment, and have fun as you craft your own unique and aromatic wax melts at home. Your space will soon be filled with delightful fragrances that will create a warm and inviting atmosphere.
FAQ
What are wax melts and how are they different from candles?
Wax melts are small pieces of scented wax that are melted in an electric wax warmer to release their fragrance. They are a safer alternative to burning scented candles as they do not have an open flame. Wax melts are also great for apartments and places where candles are not allowed. The makeup of wax melts and scented candles is similar, as they are both made with paraffin or soy wax, fragrance oils, and wax dye. However, wax melts are poured into molds to create smaller pieces in different shapes, while candles have a wick and are generally larger.
What’s the best wax for DIY wax melts?
You can use any kind of wax for DIY wax melts, but soy wax is often preferred due to its ease of use and clean-up. Soy wax has a lower melting point than other waxes, which gives you more time to work with it before it solidifies. This is especially helpful when making small wax melts and using an eye dropper to fill them. Paraffin wax is another popular choice for DIY wax melts. It is slightly more difficult to work with and clean up, but it has a higher fragrance throw. Ultimately, the choice of wax depends on personal preference and the desired outcome of your wax melts.
What kind of molds and ingredients do I need for wax melts?
When making DIY wax melts, you have a variety of options for molds. Silicone candy molds are a popular choice as they can handle the heat and come in various fun shapes. Disposable clamshell molds are another option that gives your wax melts a professional look. As for ingredients, you will need wax (either paraffin or soy wax), wax dye (optional), fragrance oil, and a digital meat thermometer to monitor the temperature. These are the basic ingredients and tools needed to make your own wax melts, but you can also experiment with adding botanicals, micas, and glitter for a unique touch.
Can you provide a step-by-step guide on how to make wax melts?
Certainly! Follow these simple steps to make your own wax melts:
Do you have any tips and ideas for making wax melts?
Absolutely! Here are some additional tips and ideas for making wax melts: