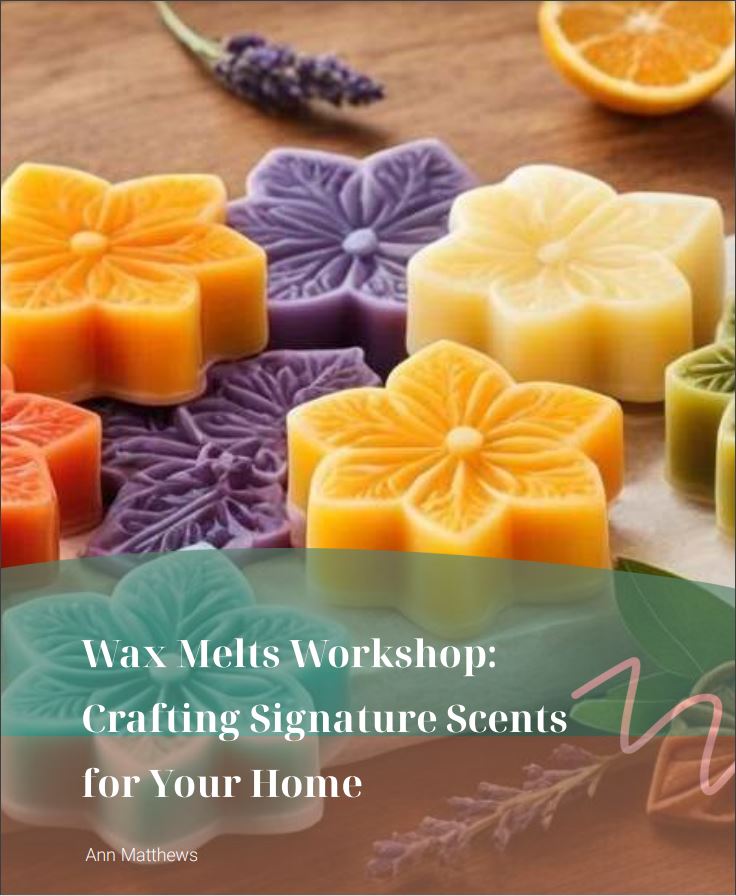
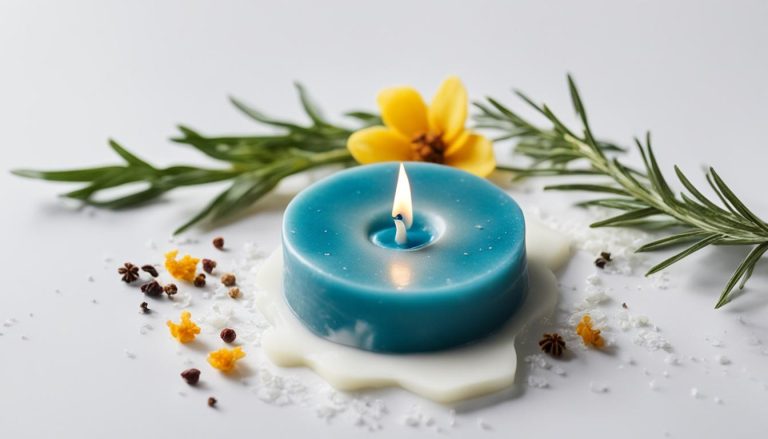
How to Make Scoopable Wax Melts for Your Home
waxmelts.info and its partners may earn a commission if you purchase a product through one of our links
Are you a wax melt enthusiast looking for a convenient and customizable option? Look no further than scoopable wax melts. With their easy-to-scoop texture and endless fragrance possibilities, these homemade wax melts are a must-try for any DIY enthusiast.
In this DIY guide, we will walk you through the step-by-step process of making your own scoopable wax melts at home. Whether you’re a seasoned wax melt maker or just starting out, this tutorial will help you create beautiful and fragrant wax melts that are perfect for any occasion.
First, we’ll gather all the necessary ingredients and materials. Then, we’ll guide you through each step, ensuring that you achieve the desired consistency and scent. Finally, we’ll share some valuable tips to make your wax melt-making journey even smoother.
Key Takeaways:
- Create your own scoopable wax melts at home with this DIY guide.
- Scoopable wax melts are customizable and convenient to use.
- Learn the step-by-step process, from ingredient selection to pouring the wax.
- Enhance your wax melts with fragrance oils, dyes, and additives.
- Enjoy the benefits of homemade wax melts and experiment with different scents and colors.
Ingredients and Materials Needed
To make scoopable wax melts, you will need the following ingredients and materials:
- Wax (preferably soy wax)
- Coconut oil
- Fragrance or essential oils
- Wax dyes (optional)
- Sprinkles or additives (optional)
- Round 250ml jar with a white cap
- Digital weighing scales
- Measuring cup
- Milk or digital thermometer
- Metal spoon
- Melting pot
- Pan
- Kitchen roll
- Nitrile gloves or similar protective gloves
- Apron
- Chemical mask (highly recommended)
If you’re not sure where to find these materials, check your local craft store or search online for suppliers. Having the right ingredients and equipment will make the process smoother and ensure the best results for your scoopable wax melts.
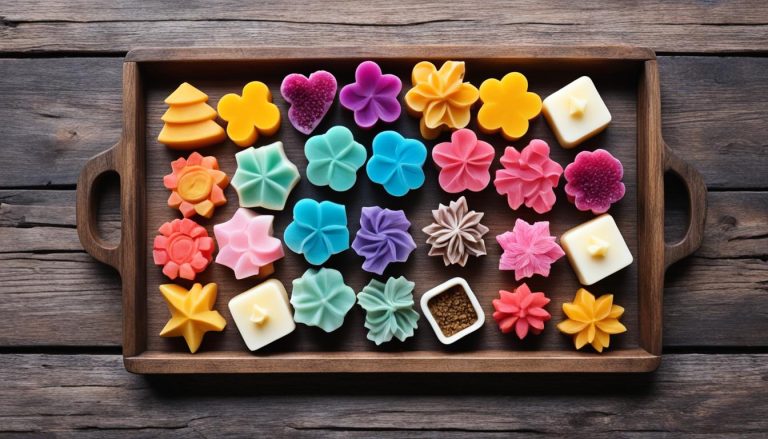
Take a look at the image below for an idea of what the ingredients and materials look like:
Step-by-Step Guide
Follow these steps to make scoopable wax melts:
-
Weigh out the coconut oil and wax.
-
Melt the wax and coconut oil using a double boiler method.
-
Prepare the fragrance oil by mixing it with mica powder.
-
Add the fragrance oil and mica powder mixture to the melted wax and stir well.
-
Add liquid dye and stir to combine.
-
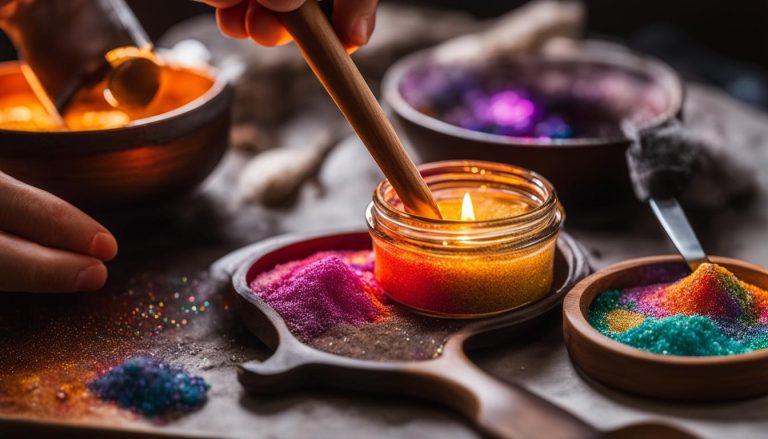
Pour the wax into the jar and sprinkle with glitter.
-
Let the wax set for 2-3 hours before putting the lid on.
-
Allow the wax to cure for around 7 days before using.
Creating scoopable wax melts is a step-by-step process. The first step is to weigh out the coconut oil and wax to ensure the correct ratio. Next, melt the wax and coconut oil together using a double boiler method to ensure even heating. It’s important to prepare the fragrance oil by mixing it with mica powder to enhance the scent and appearance of the wax melts. Once the wax is melted, add the fragrance oil and mica powder mixture, along with any desired liquid dye, and stir well to combine. Carefully pour the wax into the jar, making sure to leave space for the lid. To add an extra touch of sparkle, sprinkle glitter on top of the poured wax. Allow the wax to set for a few hours before putting the lid on, and then let it cure for about a week before using. This curing process ensures that the wax is fully hardened and the fragrance is well distributed.

By following these step-by-step instructions, you’ll be able to create your own scented wax melts with ease. Enjoy the process of customizing fragrances, colors, and additives to create unique and personalized scoopable wax melts.
Tips for Making Wax Melts
Here are some tips to keep in mind when making scoopable wax melts:
- Cover your work surface and wear protective gloves, an apron, and a chemical mask to avoid skin/respiratory irritation.
- Use a digital weighing scale to accurately measure the wax and coconut oil.
- Monitor the temperature of the wax and oil mixture using a thermometer to ensure it doesn’t exceed 75 degrees Celsius.
- Stir the fragrance oil and mica powder mixture thoroughly into the melted wax to distribute the scent and achieve a swirly effect.
- Add the liquid dye gradually and stir well to achieve the desired color.
- Sprinkle glitter on top of the poured wax for added visual appeal.
- Allow the wax to fully set before sealing the jar to prevent any leakage.
These tips will help you create beautiful and fragrant scoopable wax melts without any hassles. Follow them to achieve the best results and enjoy the process of creating your own custom wax melts.
| Tips for Making Wax Melts |
|---|
| Cover your work surface and wear protective gear |
| Use a digital weighing scale for accurate measurements |
| Monitor the temperature of the wax and oil mixture |
| Thoroughly mix fragrance oil and mica powder into melted wax |
| Add liquid dye gradually to achieve desired color |
| Sprinkle glitter for visual appeal |
| Allow the wax to fully set before sealing the jar |

Remember, creating wax melts is a fun and rewarding DIY project. Experiment with different scents, colors, and designs to make unique wax melts that suit your taste and style.
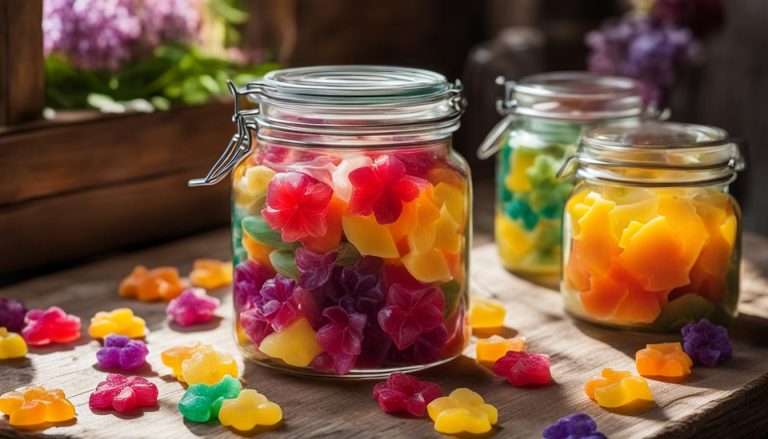
Customize and Enjoy
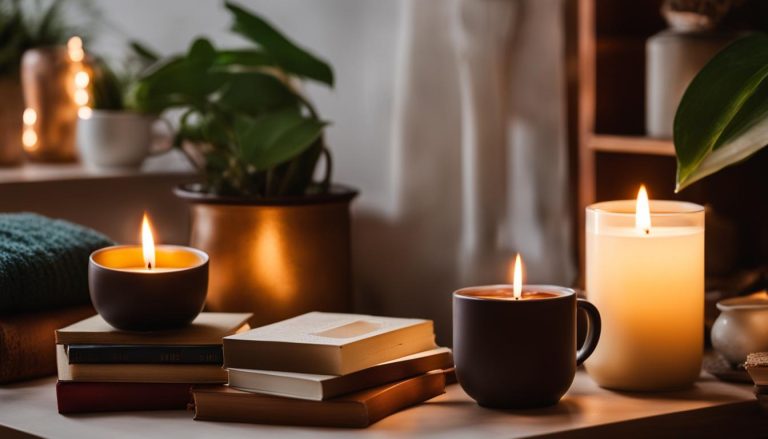
Now that your scoopable wax melts are fully cured, it’s time to customize your wax melts experience. The great thing about scoopable wax melts is that you have control over the amount you use. Simply scoop out a desired portion of wax and add it to your wax burner. When the fragrance starts to fade, you can easily replace it with another spoonful or two of wax.
It’s important to keep in mind that container wax may develop a frosted appearance over time. Don’t worry, this is completely normal and is caused by the addition of color and temperature variations. Embrace the unique and natural look of your wax melts as they continue to fill your home with delightful scents.
Don’t be afraid to get creative with your wax melts! Experiment with different fragrance oils and colors to create unique combinations that suit your preferences. Whether you prefer bold and vibrant scents or subtle and calming aromas, the possibilities are endless. Let your imagination run wild and unleash your inner scent artist.
So go ahead and indulge in the aromatic bliss of your homemade scoopable wax melts. Whether you want to create a welcoming ambiance, relax after a long day, or set the mood for a special occasion, your customized wax melts will enhance any space with their delightful fragrances. Enjoy the sensory experience and let the comforting scents transport you to a place of relaxation and tranquility.
FAQ
What are scoopable wax melts?
Scoopable wax melts are a type of wax melt that can be easily scooped out and added to a wax burner. They are popular among wax melt lovers because of their customizable amount and convenience.
Why should I make scoopable wax melts at home?
Making scoopable wax melts at home allows you to customize the scent, color, and additives according to your preferences. It is a fun and creative DIY project that can save you money compared to buying them from stores.
What ingredients and materials do I need to make scoopable wax melts?
To make scoopable wax melts, you will need wax (preferably soy wax), coconut oil, fragrance or essential oils, wax dyes (optional), sprinkles or additives (optional), a round 250ml jar with a white cap, digital weighing scales, a measuring cup, a milk or digital thermometer, a metal spoon, a melting pot, a pan, kitchen roll, nitrile gloves or similar protective gloves, an apron, and a chemical mask (highly recommended).
Can I use other types of wax instead of soy wax?
Yes, you can use other types of wax such as paraffin or beeswax. However, soy wax is preferred for scoopable wax melts due to its soft and smooth texture.
How do I melt the wax and coconut oil?
You can melt the wax and coconut oil using a double boiler method. Place a melting pot containing the wax and coconut oil inside a pan filled with water. Heat the water gently on the stovetop until the wax and oil melt, stirring occasionally.
How do I add fragrance and color to the wax?
Mix the fragrance oil with mica powder to create a scented color. Add this mixture to the melted wax and stir well to distribute the scent and achieve a swirly effect. You can also add liquid dye gradually and stir well to achieve the desired color.
How do I add sprinkles or additives to the wax?
After pouring the wax into the jar, you can sprinkle it with glitter or add other desired additives. This will give your scoopable wax melts a festive and visually appealing look.
How long does it take for the scoopable wax melts to set?
It typically takes 2-3 hours for the wax to fully set. Once set, you can put the lid on the jar.
How long does the scoopable wax need to cure before using?
It is recommended to allow the scoopable wax to cure for around 7 days before using. This allows the fragrance to fully develop and ensures the best scent release when melted.
How should I store the scoopable wax melts?
Store the scoopable wax melts in a cool, dry place away from direct sunlight and heat sources. This will help preserve the scent and prevent any melting or discoloration.
How do I customize the amount of wax melts I use?
Simply scoop out a desired portion of the wax and add it to your wax burner. When the fragrance fades, replace it with another spoonful or two of wax. This allows you to adjust the intensity of the scent and prolong the lifespan of the wax melts.
Can I experiment with different fragrance oils and colors?
Absolutely! Experimenting with different fragrance oils and colors is part of the fun of making scoopable wax melts. You can create unique combinations that suit your preferences and create a personalized aromatic experience.