The Simplest Way to Make Wax Melts at Home
waxmelts.info and its partners may earn a commission if you purchase a product through one of our links
Learn how to make wax melts at home with this straightforward DIY guide. Whether you prefer paraffin or soy wax, this recipe and tutorial will walk you through the process step by step. Discover the benefits of making your own wax melts, including the ability to customize the fragrance, color, and shape. It’s a fun and easy craft that can be enjoyed by the whole family.
Key Takeaways:
- Making wax melts at home allows you to customize the fragrance, color, and shape according to your preference.
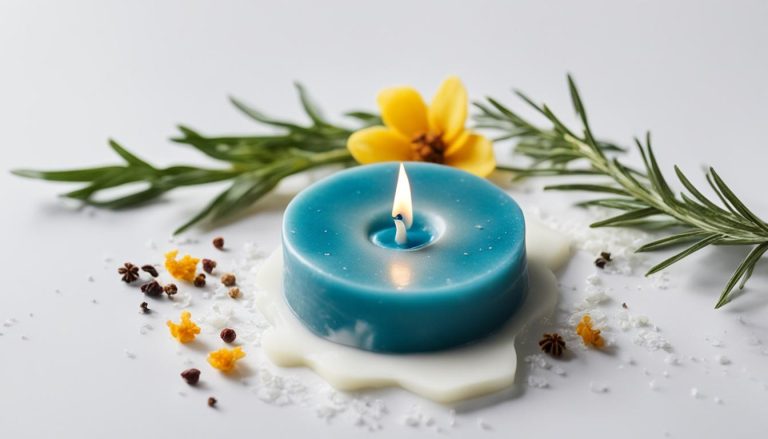
- Wax melts are a safer alternative to scented candles, as they do not have an open flame.
- Soy wax is recommended for its ease of use and clean-up, while paraffin wax requires a different melting method.
- You will need essential tools such as wax melt molds, a metal pitcher, and a digital meat thermometer to create your own wax melts.
- The process of making wax melts involves melting the wax, adding fragrance and dye, and filling the molds before letting them cool and solidify.
What Are Wax Melts?
Wax melts are small pieces of scented wax that are designed to be used with an electric wax warmer. When the wax is heated, it releases its fragrance into the room. Unlike traditional scented candles, wax melts do not have an open flame, making them a safer alternative. They are especially popular in apartments and places where candles are not allowed. Wax melts are made with paraffin or soy wax, fragrance oils, and wax dye. They come in a variety of shapes and can be easily customized to suit your preferences.
“Wax melts are a safer alternative to scented candles, especially in places where candles are not allowed.”
Wax melts offer a convenient and versatile way to enjoy the fragrance of scented candles without the worry of an open flame. Whether you prefer calming lavender, warm vanilla, or refreshing citrus, there are wax melts available in a wide range of enticing scents. The electric wax warmer gently heats the wax, releasing its aroma into the surrounding space. It’s as simple as plugging in the warmer, adding your favorite wax melt, and enjoying the inviting scent throughout your home.
One of the key benefits of wax melts is their safety. With no flame to worry about, you can confidently use them in various settings, including homes with pets or young children. Additionally, wax melts are a great option for those living in apartments or dormitories where burning candles may be prohibited. You can still create a cozy and fragrant atmosphere without compromising safety or breaking any rules.
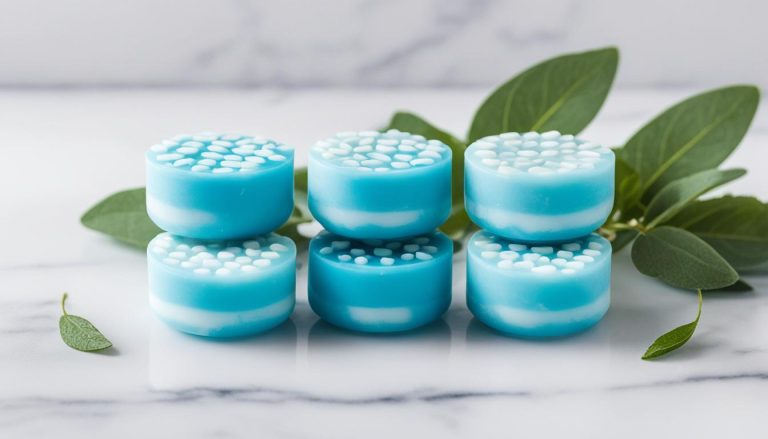
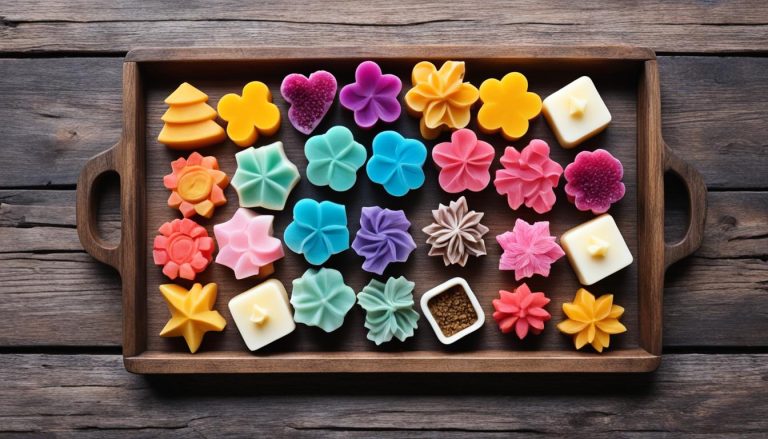
Another advantage of wax melts is their versatility. They come in various shapes, from classic cubes to whimsical figurines, allowing you to choose the design that best complements your style and mood. Furthermore, wax melts can be easily customized to your preferences by combining different scents. You can experiment with blending fragrances or use a single scent to create a signature ambiance in your space.
The Components of Wax Melts
Wax melts are typically made with two primary ingredients: wax and fragrance. The wax can be either paraffin or soy, each offering its own set of characteristics. Paraffin wax is commonly used due to its affordability and ability to hold fragrance effectively. Soy wax, on the other hand, is known for its renewable and eco-friendly nature.
In addition to wax, fragrance oils are used to impart scents to wax melts. These oils are specially formulated to release their aroma when heated, ensuring a long-lasting and pleasant fragrance experience. To achieve desired colors, wax melts may also contain wax dyes, allowing you to add a touch of visual appeal to your creations.
Whether you want to fill your home with the soothing scent of lavender or enjoy the invigorating notes of citrus, wax melts offer a safer and customizable alternative to traditional scented candles. With their versatility and comforting aroma, wax melts are a delightful addition to any space, creating a cozy and inviting atmosphere.
Choosing the Best Wax for DIY Wax Melts
When it comes to making DIY wax melts, selecting the right wax is crucial for a successful outcome. While various types of wax can be used, two popular options are soy wax and paraffin wax.
Soy Wax: Soy wax is highly recommended for its ease of use and clean-up. Derived from soybeans, it is a natural and renewable resource, making it a popular choice among environmentally conscious crafters. One notable advantage of soy wax is its lower melting point, which gives you more time to work with the wax before it solidifies. This makes it ideal for beginners or those who prefer a slower setting time.
Paraffin Wax: Paraffin wax is another commonly used wax for making wax melts. Derived from petroleum, it has a higher melting point compared to soy wax. This means it solidifies faster, so you need to work with it more quickly. Paraffin wax is known for its excellent scent throw, meaning it releases fragrance effectively when melted. However, it requires a different melting method, as it should be melted using a double boiler or dedicated wax melter.
When deciding which wax to use for your homemade wax melts, consider your preferences and the resources you have available. Both soy wax and paraffin wax have their merits and can produce excellent results. Experiment and find the wax that works best for you.
Comparison of Soy Wax and Paraffin Wax
| Aspect | Soy Wax | Paraffin Wax |
|---|---|---|
| Melting Point | Lower melting point, giving you more time to work with the wax | Higher melting point, solidifies faster |
| Source | Derived from soybeans, a natural and renewable resource | Derived from petroleum |
| Clean-up | Easy to clean up with soap and water | Requires solvents for cleaning |
| Environmental Impact | Considered more eco-friendly | Derived from non-renewable resources |
Wax Melt Molds and Tools
To create your own wax melts, you will need some essential tools and molds. Here are the key items you’ll need:
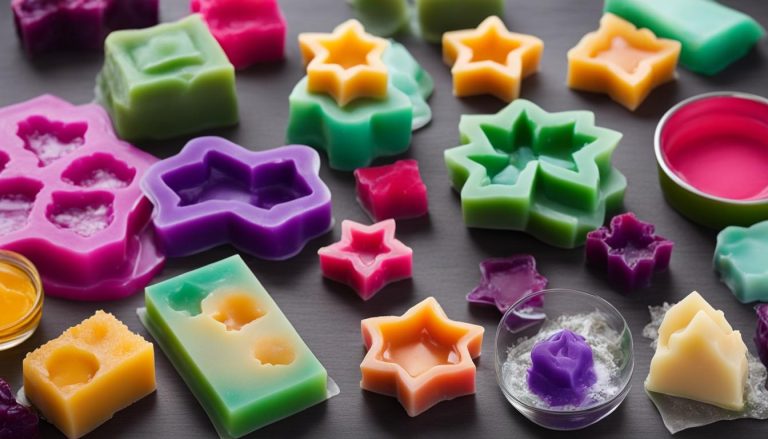
1. Wax Melt Molds:
When it comes to choosing molds for your wax melts, there are a few options available. Silicone candy molds are a popular choice due to their heat resistance and the variety of fun shapes they offer. These molds are flexible, making it easy to remove the hardened wax melts without any hassle. Another convenient option is clamshell molds, which are perfect if you plan on giving your wax melts as gifts. Clamshell molds have a hinged design that allows for easy packaging and presentation.
2. Metal Pitcher:
A metal pitcher is a must-have tool for melting the wax. Look for a pitcher specifically designed for candle making or wax melting, as they usually come with a handle and a spout for easy pouring. The metal pitcher is used to heat the wax and ensure it reaches the desired temperature for proper blending with fragrance oils and dyes.
3. Digital Meat Thermometer:
A digital meat thermometer is an essential tool for monitoring the temperature of the melted wax. It helps you ensure that the wax reaches the optimal temperature for adding fragrance oils and dyes. This ensures that the fragrance is properly blended and the color is evenly distributed throughout the wax melt mixture.

With these tools and molds in hand, you’ll have everything you need to create beautiful and fragrant wax melts right at home.
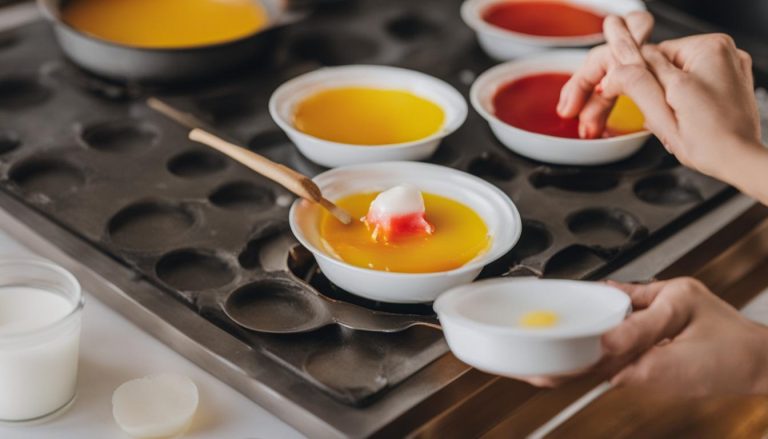
Step-by-Step Guide to Making Wax Melts
Making wax melts is a simple process that can be done in just a few steps. Follow this easy guide to create your own customized wax melts at home.
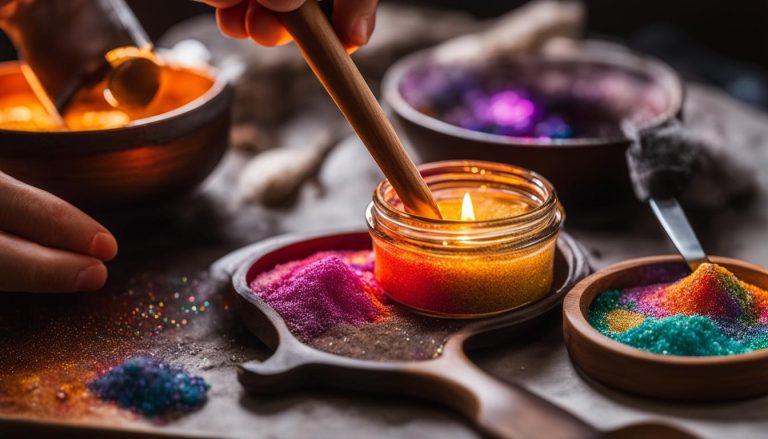
- Melting the Wax:
First, choose your preferred method of melting the wax. You can use either a double boiler or a microwave.
Note: If using a double boiler, fill the bottom pot with water and place it on the stove. Put the wax in the top pot and heat it over medium heat until fully melted. If using a microwave, place the wax in a microwave-safe container and heat it in 30-second intervals, stirring in between, until melted.
- Adding Color:
To achieve your desired color, add wax dye to the melted wax. Stir until the dye is fully dissolved and the color is evenly distributed. Remember to wear gloves to protect your hands from any potential staining.
- Blending the Fragrance:
Next, it’s time to add fragrance oil to the hot wax. Choose your favorite scent and add a few drops, adjusting the amount according to your preference. Make sure to check the temperature of the wax before adding the fragrance to ensure proper blending. The ideal temperature range is usually mentioned on the fragrance oil package.
Note: It’s recommended to use a digital meat thermometer to monitor the wax temperature. The fragrance oil should be added when the wax reaches around 180-185°F (82-85°C).
- Filling the Molds:
When the wax is fully blended with the fragrance, it’s time to pour it into your chosen molds. Ensure that the molds are clean and free from any debris. Carefully pour the wax into the molds, filling them to the desired level.
Here is an example of a simple table showcasing the steps:
| Step Number | Step |
|---|---|
| 1 | Melt the wax |
| 2 | Add wax dye |
| 3 | Add fragrance oil |
| 4 | Pour into molds |
- Cooling and Solidifying:
After pouring the wax, allow it to cool and solidify completely. This may take a couple of hours, depending on the type of wax used and the room temperature.

Once the wax melts have hardened, remove them from the molds. Let them cure for at least 24 hours to allow the fragrance to develop fully.
Now, you have successfully made your own wax melts! Enjoy the delightful scents and experiment with different fragrances and colors to create unique combinations.
Tips and Tricks for Perfect Wax Melts
To enhance your wax melt making experience, here are some additional tips and tricks.
Firstly, use a fragrance oil calculator to determine the appropriate amount of fragrance oil for your wax melts. This will ensure that you achieve the desired scent without overpowering or wasting the oil.
Secondly, consider sealing your wax melts in an airtight container or plastic bag and letting them cure for a week or two. This process allows the fragrance to fully develop and intensify, resulting in a longer-lasting and more aromatic wax melt.
Furthermore, using wax melt liners can be a game-changer. These liners not only prevent any melted wax from leaking out of the melters but also make it easier to change scents as they can be easily discarded after use.
Lastly, when it comes to storing your wax melts, it’s important to keep them in a tightly sealed plastic bag. This will help preserve the scent until you’re ready to use them, ensuring that they maintain their freshness and potency.
FAQ
What are wax melts?
Wax melts are small pieces of scented wax that are designed to be used with an electric wax warmer. When the wax is heated, it releases its fragrance into the room. Unlike traditional scented candles, wax melts do not have an open flame, making them a safer alternative. They are especially popular in apartments and places where candles are not allowed.
What is the best wax for DIY wax melts?
While you can use any type of wax, soy wax is recommended for its ease of use and clean-up. It has a lower melting point compared to other waxes, giving you more time to work with it before it solidifies. Paraffin wax is another popular option, but it requires a different melting method. Consider your preferences and the resources you have available when deciding which wax to use for your homemade wax melts.
What molds and tools do I need for making wax melts?
You will need silicone candy molds or clamshell molds for shaping your wax melts. A metal pitcher is used for melting the wax, and a digital meat thermometer helps you monitor the temperature. These tools can be easily found online or at craft stores.
How do I make wax melts at home?
Making wax melts is a simple process that involves melting the wax, adding fragrance and dye, and filling the molds. First, melt the wax using either a double boiler or a microwave. Add wax dye to achieve your desired color, stirring until fully dissolved. Next, add fragrance oil to the hot wax, making sure to check the temperature to ensure proper blending. Finally, pour the wax into the molds and let it cool and solidify. Once hardened, remove the wax melts from the molds and let them cure for optimal fragrance.
Any tips for creating perfect wax melts?
Yes! Use a fragrance oil calculator to determine the appropriate amount of fragrance oil for your wax melts. Sealing your wax melts in an airtight container or plastic bag and letting them cure for a week or two can help intensify the fragrance. Consider using wax melt liners to prevent messes and make it easier to change scents. Store your wax melts in a tightly sealed plastic bag to preserve their scent until you’re ready to use them.