Create Gel Wax Melts at Home – Easy DIY Guide
waxmelts.info and its partners may earn a commission if you purchase a product through one of our links
Gel wax melts are a fun and creative way to add fragrance and ambiance to your space. They are made using gel wax as the base, which gives them a unique translucent appearance. In this easy DIY guide, we will walk you through the step-by-step process of making gel wax melts at home. From gathering the necessary ingredients and equipment to pouring and setting the wax, you’ll have beautiful homemade gel wax melts in no time.
Key Takeaways:
- Learn how to make gel wax melts at home with this easy DIY guide
- Use gel wax as the base for a unique translucent appearance
- Gather the necessary ingredients and equipment before getting started
- Follow the step-by-step instructions to pour and set the wax
- Decorate your gel wax melts for a visually appealing effect
What are Gel Wax Melts?
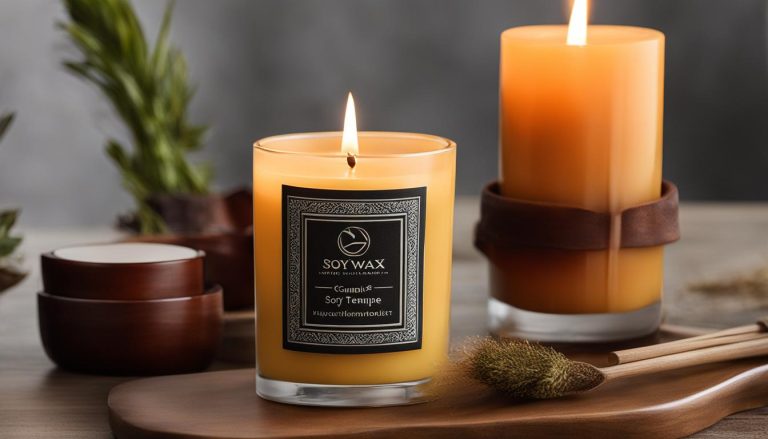
Gel wax melts are a popular alternative to traditional wax melts for releasing fragrance into your space. While they serve the same purpose of providing a pleasant aroma, gel wax melts are made using gel wax as the base instead of soy, beeswax, or palm wax. This unique type of wax allows for endless possibilities in terms of embeds, colors, and fragrances, resulting in truly customized and visually appealing designs.
Unlike other wax melts, gel wax melts are less messy to clean up after use. Once the melt has finished burning, the gel can be easily peeled away from the tray, leaving no residue behind.
With their translucent appearance, gel wax melts create a beautiful ambiance as they release fragrances into the air. The embedded decorations, colors, and swirling patterns add an extra touch of elegance to your space. Whether you’re looking to create a cozy atmosphere or enhance your home’s decor, gel wax melts offer a stylish and aromatic solution.
“Gel wax melts provide a unique and customizable way to add fragrance and visual interest to any space.” – Wax Melts Enthusiast
By following a simple homemade gel wax melts recipe and using a few key ingredients and equipment, you can easily create your own gel wax melts at home. With endless fragrance options and the ability to customize the design, gel wax melts allow you to create a truly personalized sensory experience.
Stay tuned as we reveal the essential materials and equipment needed to make gel wax melts in the next section. Get ready to embark on an aromatic and creative journey with homemade gel wax melts!
Benefits and Tips for Using Gel Wax Melts
Gel wax melts offer several benefits that make them a popular choice for adding fragrance and ambiance to your space. Here are some of the advantages of using gel wax melts:
- Longer burn time: Unlike traditional wax melts, gel wax melts have a higher melting point, allowing them to provide a longer burn time. Enjoy up to 40 hours of fragrance with each gel wax melt, ensuring a lasting scent experience.
- Reusable: Another great benefit of gel wax melts is their reusability. The gel doesn’t evaporate like other waxes, so you can use the melts multiple times. Simply remove the hardened wax from the burner and store it until your next use.
While using gel wax melts is straightforward, here are some helpful tips to enhance your experience:
- Flip the melt: After each use, consider flipping the gel wax melt to maximize the fragrance throw. This helps distribute the fragrance evenly and ensures a consistent scent throughout the room.
- Trim the wick: To maintain optimal performance and safety, trim the wick of your gel wax melt to a quarter of an inch before each use. This helps prevent soot buildup and ensures a clean burn.
By following these tips, you can enjoy the full benefits of gel wax melts and create a delightful and aromatic atmosphere in your home.
Check out this engaging visualization highlighting the benefits of gel wax melts:
| Benefits | Traditional Wax Melts | Gel Wax Melts |
|---|---|---|
| Longer burn time | Up to 20 hours | Up to 40 hours |
| Reusability | No | Yes |
| Consistent fragrance | Depends on wax quality | Yes |

With their extended burn time and reusability, gel wax melts offer a cost-effective and convenient way to enjoy your favorite fragrances. Follow the tips and incorporate gel wax melts into your home to create a cozy and inviting atmosphere.
Materials and Equipment Needed to Make Gel Wax Melts
To make your own gel wax melts, you will need the following materials and equipment:
Materials:
- Gel wax
- Fragrance oil
- Dye (optional)
- Embeds (such as flowers, petals, or wax pieces)
- Wick
- Wick tab
- Glass container or mold
- Heat-resistant glue
Equipment:
- Double boiler or microwave-safe container
- Thermometer
- Stirring utensil (such as a spoon or popsicle stick)
- Tweezers (for placing embeds)
- Measuring cups or scale
Having these materials and equipment ready will make the process of making gel wax melts much smoother and enjoyable. Ensure that you have everything on hand before you begin to avoid any interruptions during the crafting process.

Step-by-Step Guide to Making Gel Wax Melts
Follow these step-by-step instructions to make gel wax melts at home:
- Gather all the necessary ingredients and equipment. Here’s what you’ll need:
| Ingredients | Equipment |
|---|---|
|
|
- Prepare your workspace by covering the area with newspaper or wax paper to catch any spills.
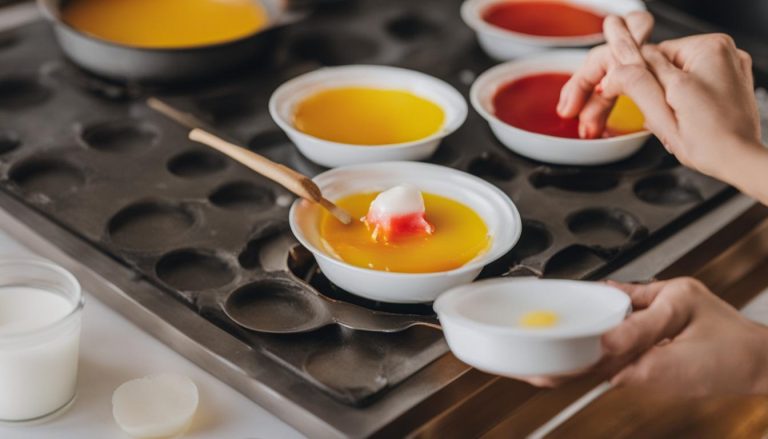
- Melt the gel wax in a double boiler or microwave according to the manufacturer’s instructions. Use a thermometer to monitor the temperature and ensure it reaches the recommended melting point.
- Add your chosen fragrance oil and color dye to the melted gel wax. Stir gently until well combined.
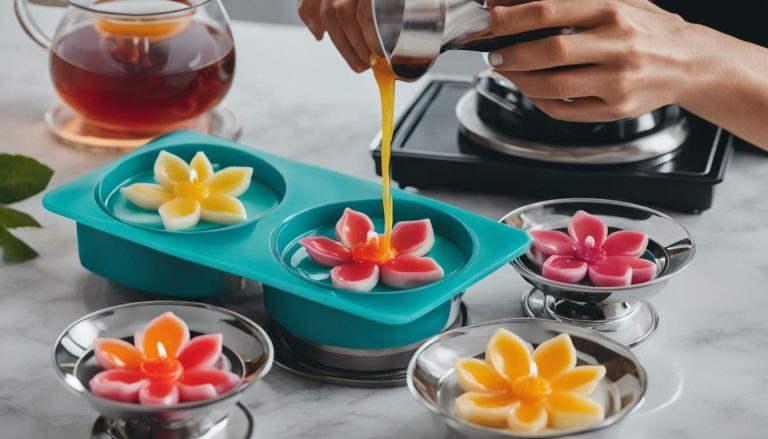
- If desired, place embeds in the container or mold before pouring the wax. Use tweezers to position them precisely.
- Secure the wick in the center of the container or mold using a wick holder.
- Slowly pour the scented, colored gel wax into the container or mold, ensuring the embeds and wick remain in place.
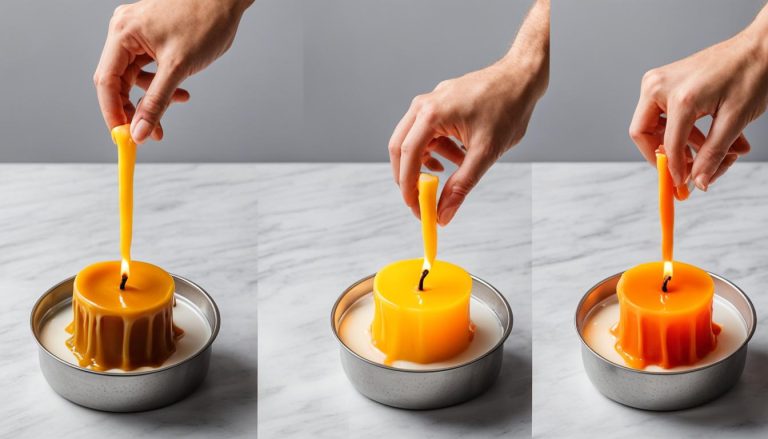
- Allow the gel wax melts to cool and harden completely. This process may take a few hours.
- Trim the wick to a quarter of an inch before using the gel wax melts.
- Your homemade gel wax melts are now ready to be used! Simply place them in a wax melt warmer or tea light holder and enjoy the beautiful fragrance they release.
With this simple step-by-step guide, you can easily create your own personalized gel wax melts and fill your space with delightful scents.
Decorating Gel Wax Melts
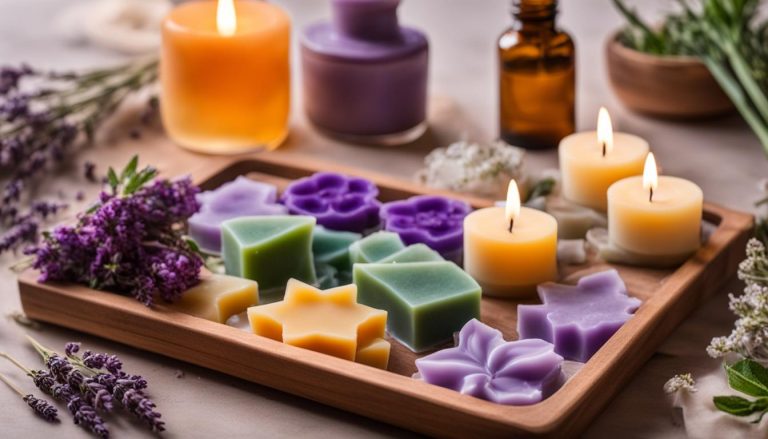
If you want to add visual interest to your gel wax melts, you can decorate them before pouring the melted wax. Let your creativity flow and experiment with various decorative ideas to make your gel wax melts truly unique. Here are some gel wax melts decorating ideas to inspire you:
Add Natural Elements
Enhance the beauty of your gel wax melts by incorporating natural elements such as flowers, petals, or leaves. Arrange them in the container or mold before pouring the gel wax. As the wax solidifies, the natural elements will be suspended within the translucent gel, creating a stunning and organic look.
Experiment with Wax Pieces
To create a captivating visual effect, consider adding wax pieces in different shapes and colors to your gel wax melts. These wax pieces can be in the form of small embeds or chunky chunks. Place them strategically in the container or mold to achieve your desired design. As the gel wax hardens, the wax pieces will be visible, adding texture and dimension to your melts.
Introduce Fruit Slices
For a fun and refreshing twist, try adding small slices of dried fruit to your gel wax melts. Citrus fruits like lemon, lime, and orange work particularly well and provide a natural fragrance. Arrange the fruit slices in the container or mold before pouring the gel wax, ensuring they are evenly distributed. As the wax sets, the fruit slices will be beautifully showcased in the translucent gel.
Use Glitters or Confetti
Add a touch of sparkle and glamour to your gel wax melts by incorporating glitters or confetti. Sprinkle a small amount of glitters or confetti into the container or mold before pouring the gel wax. As the wax solidifies, the glitters or confetti will shimmer through the gel, creating a dazzling and eye-catching effect.
Remember, the key to successful gel wax melts decoration is the placement and arrangement of the decorative elements. Use tweezers or other tools to adjust the position of the decorations if needed. Let your imagination soar and have fun experimenting with different ideas to create gel wax melts that reflect your unique style and personality.
| Gel Wax Melts Decorating Ideas | Description |
|---|---|
| Add Natural Elements | Incorporate flowers, petals, or leaves to create an organic look. |
| Experiment with Wax Pieces | Add small embeds or chunky chunks of wax for texture and dimension. |
| Introduce Fruit Slices | Include dried fruit slices such as lemon or orange for a refreshing twist. |
| Use Glitters or Confetti | Sprinkle glitters or confetti to add a touch of sparkle and glamour. |
Conclusion
Making your own gel wax melts is a rewarding and enjoyable DIY project that allows you to unleash your creativity and personalize the fragrance and design of your melts. By following the step-by-step guide provided in this article, you can easily create beautiful gel wax melts in the comfort of your own home.
With the right materials and equipment, such as high-quality gel wax, fragrance oils, and molds, you can experiment with different colors, scents, and embeds to create unique and customized gel wax melts that reflect your personal style and preferences.
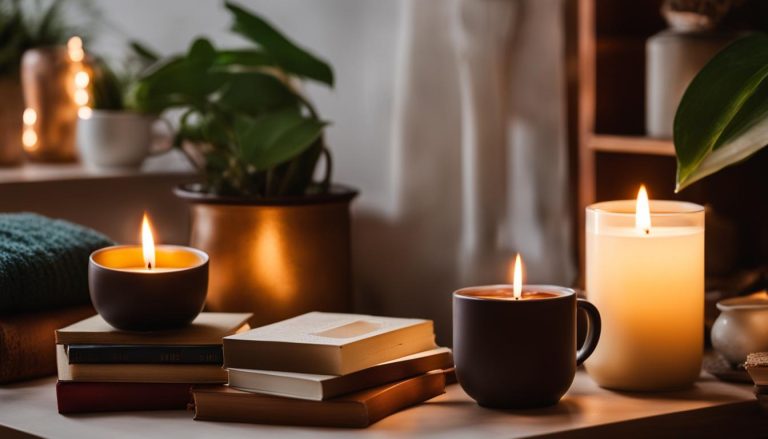
Not only will you have fun during the process, but your space will also be filled with delightful aromas that create a warm and inviting ambiance. Whether you’re looking to relax, energize, or set a specific mood, your homemade gel wax melts will help create the perfect atmosphere.
So why wait? Embrace your creativity and start making your own gel wax melts today. Get ready to enjoy the satisfaction of creating something beautiful and the pleasure of filling your home with irresistible fragrances. Create, experiment, and experience the joy of DIY gel wax melts!
FAQ
What are gel wax melts?
Gel wax melts are a type of wax melt made using gel wax as the base instead of traditional waxes like soy or beeswax. They have a unique translucent appearance and can be customized with embeds, colors, and fragrances.
What are the benefits of using gel wax melts?
Gel wax melts provide a longer burn time compared to other wax melts, with up to 40 hours of burn time. They are also reusable and easier to clean up after burning.
How do I make gel wax melts at home?
You can make gel wax melts at home by gathering the necessary ingredients and equipment, following a step-by-step guide, and pouring and setting the wax. Detailed instructions can be found in the article.
What materials and equipment do I need to make gel wax melts?
To make gel wax melts, you will need gel wax, fragrance oil, colorant, a mold or container, a wick, a wick holder, a thermometer, and a heat source.
Can I decorate my gel wax melts?
Yes, you can decorate your gel wax melts before pouring the melted wax. Some decorative ideas include adding flowers, petals, wax pieces, or small fruit. Detailed instructions can be found in the article.
How do I maximize the fragrance throw of gel wax melts?
To maximize the fragrance throw, it is recommended to flip the gel wax melt after each use, allowing the fragrance to disperse evenly around the room.
Are there any safety guidelines for using gel wax melts?
Yes, when using gel wax melts, it is important to never leave a burning melt unattended and to keep the wick trimmed to a quarter of an inch. Detailed safety guidelines can be found in the article.