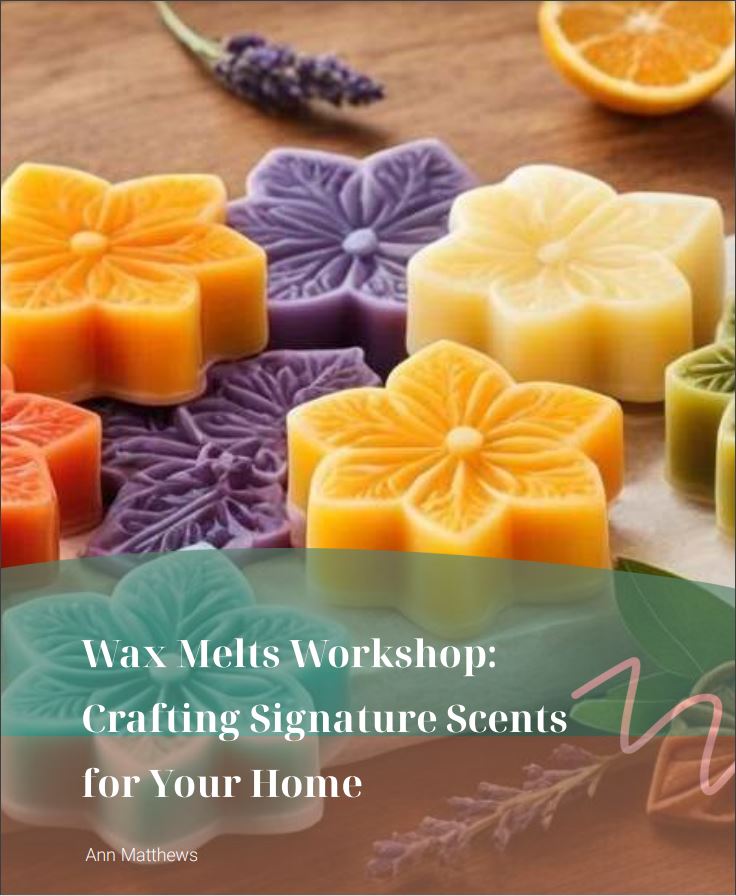
Make Squeezable Wax Melts Easily at Your Kitchen Table
waxmelts.info and its partners may earn a commission if you purchase a product through one of our links
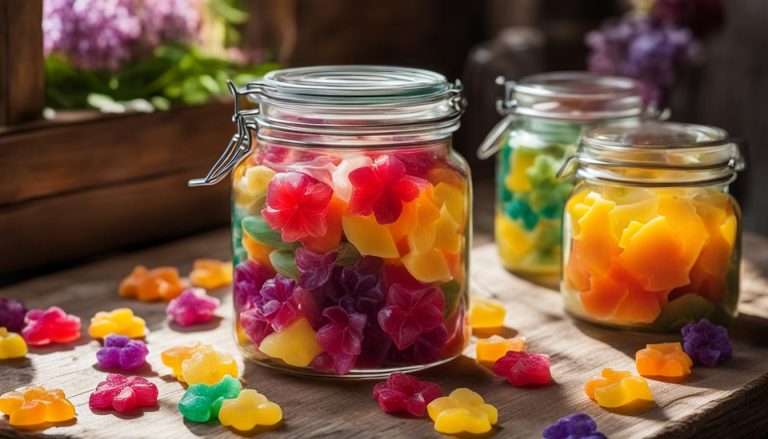
Making your own squeezable wax melts at home is a fun and rewarding DIY project. With just a few simple ingredients, you can create your own unique scents and enjoy the convenience of easily dispensing the wax. In this article, we will guide you through the step-by-step process of making squeezable wax melts, providing helpful tips along the way.
Key Takeaways:
- Learn how to make squeezable wax melts at home with a step-by-step guide.
- Create your own unique scents and colors for a personalized wax melt experience.
- Discover tips and tricks for adjusting the consistency and fragrance load of your wax melts.
- Enjoy the convenience of easily dispensing the wax using squeeze bottles.
- Extend the shelf life of your homemade wax melts with proper storage techniques.
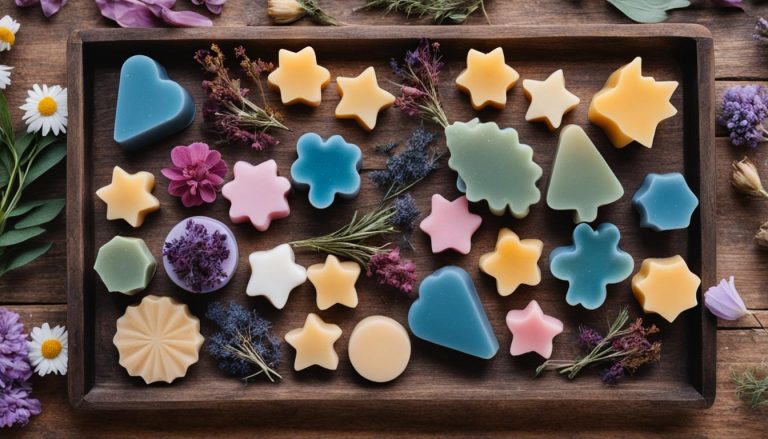
Supplies Needed for Making Squeezable Wax Melts
When it comes to making your own squeezable wax melts, having the right supplies is essential. Here are the key ingredients and equipment you’ll need:
Ingredients:
- IGI 6006 wax: This versatile wax is ideal for creating squeezable wax melts.
- Soybean/vegetable oil or mineral oil: Choosing between either of these types of oils for squeezable wax melts will determine the shelf life of your melts.
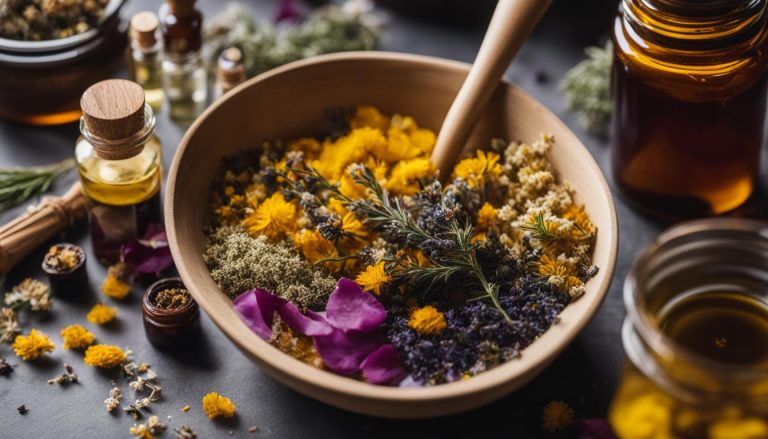
- Fragrance oil: Select your favorite scents to customize your wax melts.
- Dye: Add some color to your melts with specially formulated wax dyes.
Equipment:
- HDPE bottles: These bottles are perfect for their easy-to-squeeze design, allowing you to dispense your wax melts effortlessly.
- Melting pot: Use a dedicated pot to melt your wax and blend all the ingredients together.
- Thermometer: Monitor the temperature of your wax to ensure it’s heated to the right point.
- Spoon: Use a spoon to stir and blend the ingredients in your melting pot.
With these supplies on hand, you’ll have everything you need to create your own unique and delightful squeezable wax melts. Let’s move on to the next step and explore the wax melting process.
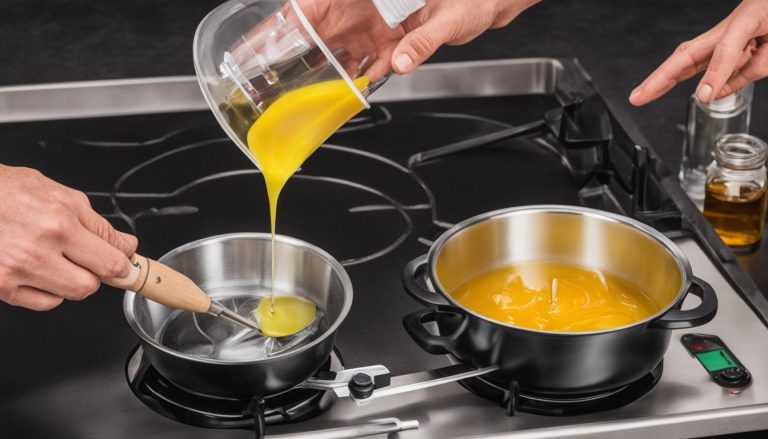
The Wax Melting Process
Once you have gathered all the necessary supplies, it’s time to begin the wax melting process for your squeezable wax melts. Follow these step-by-step instructions to ensure a successful and enjoyable experience.
Step 1: Prepare Your Melting Pot
Start by setting up your melting pot on a heat source. It is recommended to use a melting pot specifically designed for candle making to ensure safe and effective melting of the wax. Place the pot on low heat to gradually melt the wax without overheating it.
Step 2: Add the Wax
Once your melting pot is ready, add the desired amount of wax into it. The quantity will depend on the number of wax melts you want to make. Be sure to check the manufacturer’s instructions for the recommended amount of wax to melt at a time.
Step 3: Melt the Wax
Allow the wax to melt completely, stirring it occasionally with a spoon to ensure even heating. Be patient and avoid rushing the process by increasing the heat, as this can lead to uneven melting and potential damage to the wax.
Step 4: Blending Fragrance and Color
Once the wax is fully melted, it’s time to add fragrance oil and dye to create your desired scent and color. Slowly pour a few drops of fragrance oil into the melted wax, stirring continuously to evenly distribute the fragrance. Add a small amount of dye to achieve the desired color, stirring until the color is well-blended.
Step 5: Achieving the Perfect Blend
To ensure a consistent and well-blended mixture, continue stirring the wax, fragrance oil, and dye for a few minutes. This will help incorporate the fragrance and color evenly throughout the wax, resulting in a cohesive final product.
Step 6: Adjusting the Temperature
If you find that the wax, fragrance, and dye are not blending well or separating, you may need to slightly warm up the mixture. Gently heat the wax on low heat, stirring continuously until the ingredients are fully incorporated. Be cautious not to overheat the wax during this process.
If you need visual guidance, refer to the image below that demonstrates the wax melting process:
Creating the Wax and Oil Mixture
Now that you have melted your wax and added fragrance and color, it’s time to create the perfect wax and oil mixture for your squeezable wax melts. Getting the ratio just right is essential for achieving the desired consistency and ensuring a high-quality product.
The recommended ratio for the wax and oil mixture is 1 part wax to 2 parts oil. However, feel free to adjust this ratio according to your preferences. If you prefer a softer and more easily squeezable wax melt, add a bit more oil. On the other hand, if you want a firmer texture, reduce the amount of oil added.
Remember to consider the recommended fragrance load when creating your mixture. A fragrance load of around 12% is recommended, which means using 1 weight ounce of fragrance for every 8 ounces of wax and oil mixture. This ensures that your homemade wax melts have a pleasant and noticeable scent when melted.
Keep in mind that different fragrances may require slight adjustments to the ratio and fragrance load. Stronger scents may benefit from a bit more wax or a higher fragrance load, while milder scents may need less. Feel free to experiment and find the perfect balance for each fragrance you use.
Creating the wax and oil mixture is an important step in making high-quality squeezable wax melts. By adjusting the ratio of wax to oil and considering the recommended fragrance load, you can customize the consistency and scent intensity of your homemade wax melts.
Pouring the Mixture into HDPE Bottles
Now that your wax and oil mixture is ready, it’s time to pour it into the HDPE bottles. This step is crucial for creating your homemade squeezable wax melts.
First, allow the mixture to cool to around 145-150 degrees Fahrenheit before pouring it into the bottles. This temperature is essential to prevent the HDPE bottles from warping due to the heat. Use a thermometer to ensure you reach the correct temperature.
Once the mixture has cooled to the appropriate temperature, carefully pour it into the HDPE bottles. The squeeze bottles are ideal for easy dispensing and controlled application of your wax melts.
After pouring, it’s important to let the wax melts cool and solidify for a few hours before using them. The cooling time may vary depending on the size of the bottle and the room temperature.
Be patient and resist the temptation to use your wax melts before they have fully solidified. This will ensure that they maintain their shape and effectiveness when you’re ready to enjoy their fragrance.
Now that you’ve successfully poured the mixture into the HDPE bottles, you’re one step closer to enjoying your homemade squeezable wax melts!

| Step | Action |
|---|---|
| 1 | Cool the wax and oil mixture to 145-150°F. |
| 2 | Pour the mixture into the HDPE bottles. |
| 3 | Allow the wax melts to cool and solidify for a few hours. |
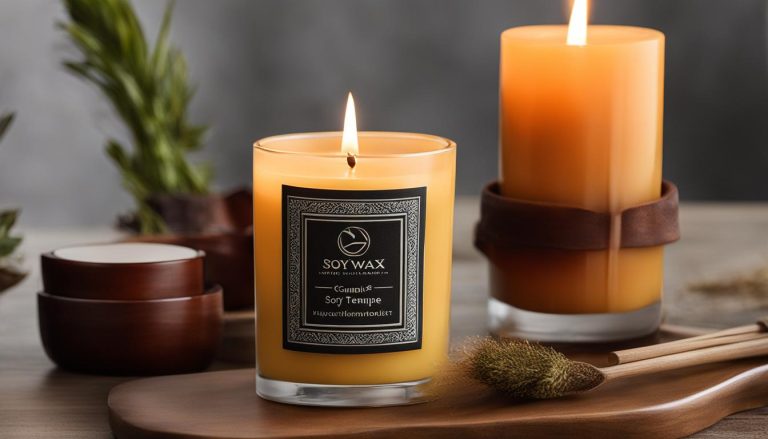
Using Squeezable Wax Melts
To enjoy the delightful fragrance of your homemade squeezable wax melts, simply follow these easy steps:
- Squeeze a small amount of the wax melt into your warmer or burner.
- Allow the wax to melt and release its enticing scent, filling your space with a long-lasting aroma.
By using squeeze bottles for your wax melts, you’ll discover several benefits:
- Customization: With squeeze bottles, you have full control over the amount of wax melt you use. Experiment with different quantities to find your perfect scent intensity.
- Convenience: The easy dispensing mechanism of squeeze bottles makes it hassle-free to use your wax melts. No need to deal with messy scoops or utensils.
- Portability: The compact size of squeeze bottles allows you to carry your favorite scents wherever you go. Perfect for on-the-go fragrance needs or to create a cozy ambiance during your travels.

As you enjoy the aromatic experience of your squeezable wax melts, you’ll appreciate how simple and efficient the use of squeeze bottles can be. Let the captivating scents transform your living space into a cozy oasis of tranquility.
Storage and Shelf Life of Squeezable Wax Melts
Proper storage is key to preserving the shelf life of your squeezable wax melts. Follow these tips to ensure your homemade wax melts stay fresh and fragrant:
- Store in a cool, dry place: Keep your wax melts away from heat and humidity, which can cause them to melt or lose their scent. Find a cool spot in your home, such as a pantry or closet, to store them.
- Keep away from direct sunlight: Exposure to sunlight can fade the colors and weaken the fragrance of your wax melts. Choose a storage location that is away from direct sunlight.
- Seal the bottles tightly: Air exposure can lead to the evaporation of fragrance oils and a decrease in scent strength. Make sure to seal the bottles tightly after each use to prevent air from entering.
Using mineral oil instead of soybean oil in your homemade wax melts can greatly extend their shelf life. While soybean oil has a shelf life of about 1 year, mineral oil does not have an expiration date, making it a better choice for long-term storage.
By following these storage tips and using mineral oil, you can extend the shelf life of your squeezable wax melts and continue to enjoy their beautiful scents for months to come.
Final Thoughts and Tips
Making your own squeezable wax melts at home is a truly gratifying experience. The ability to experiment with various fragrances and colors allows you to create truly unique combinations that cater to your personal preferences. Don’t be afraid to adjust the ratios of wax to oil to achieve the desired consistency for your melts. Remember, it’s your creation, and you have the freedom to customize it to your liking.
As you embark on this creative journey, always prioritize safety. Working with hot wax and oils requires caution. Use gloves and ensure proper ventilation in your workspace. Keep an eye on the temperature of the wax, as excessive heat can pose a risk. Following these safety precautions will ensure an enjoyable and risk-free experience.
Above all, have fun! Making squeezable wax melts can be a therapeutic and rewarding activity. Engage your senses, let the aromas inspire you, and embrace the joy of creating your own personalized scents. Whether you’re using your melts for personal use or gifting them to others, the charming ambiance they create in your home is unmatched. So, get creative, let your imagination run wild, and enjoy the process of crafting beautiful and fragrant squeezable wax melts.
FAQ
What supplies do I need to make squeezable wax melts?
For making squeezable wax melts, you will need IGI 6006 wax, soybean oil or mineral oil, fragrance oil, dye, HDPE bottles, a melting pot, a thermometer, and a spoon.
How do I melt the wax for making squeezable wax melts?
You can melt the wax using a melting pot on low heat. Once melted, add fragrance oil and dye, and blend thoroughly.
How do I create the wax and oil mixture for squeezable wax melts?
Create the mixture by combining 1 part wax with 2 parts oil. Adjust the ratio for desired consistency. Don’t forget to consider the fragrance load, using 1 weight ounce of fragrance for every 8 ounces of wax and oil mixture.
How do I pour the wax and oil mixture into the squeeze bottles?
After cooling the mixture to around 145-150 degrees Fahrenheit, pour it into the HDPE bottles. Allow the wax melts to cool and solidify before using.
How do I use the squeezable wax melts?
Simply squeeze a small amount of the wax melt into your warmer or burner. The wax will melt and release its fragrance, providing a long-lasting scent experience.
How should I store my squeezable wax melts?
Store your wax melts in a cool, dry place away from direct sunlight. Make sure to seal the bottles tightly to prevent air exposure. Using mineral oil instead of soybean oil can extend the shelf life of your product.
Any final thoughts or additional tips for making squeezable wax melts?
Enjoy the creative process of making your own unique scents. Experiment with different fragrances and colors. Follow safety precautions when working with hot wax and oils. Have fun and create a cozy and inviting home ambiance with your personalized scents.