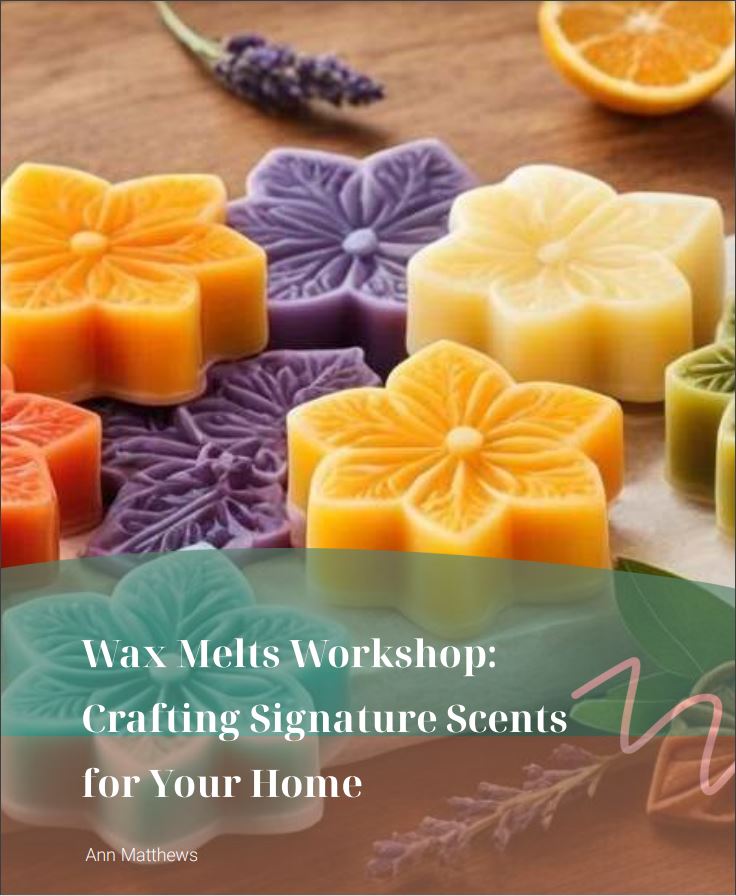
Squeezable Wax Melts – How to Make Your Own
waxmelts.info and its partners may earn a commission if you purchase a product through one of our links
Making your own squeezable wax melts at home is a fun and cost-effective way to create personalized fragrances for your space. With just a few ingredients and some simple steps, you can create your own custom scents that will fill your home with delightful aromas. In this DIY guide, we will walk you through the process of making squeezable wax melts, providing you with step-by-step instructions and helpful tips along the way.
Key Takeaways:
- Making your own squeezable wax melts allows for personalized fragrances in your home.
- Squeezable wax melts are wickless and can be easily scooped out of a jar.
- Using the right type of wax can have a significant affect on the quality of the squeezable wax created
- There are different techniques for melting the wax and mineral oil such as the double boiler method.
- Fragrance oils are commonly used for scented wax melts, but essential oils can also be used with a higher concentration.
- Not all fragrance oils are compatible with all types of wax.
What Are Squeezable Wax Melts?
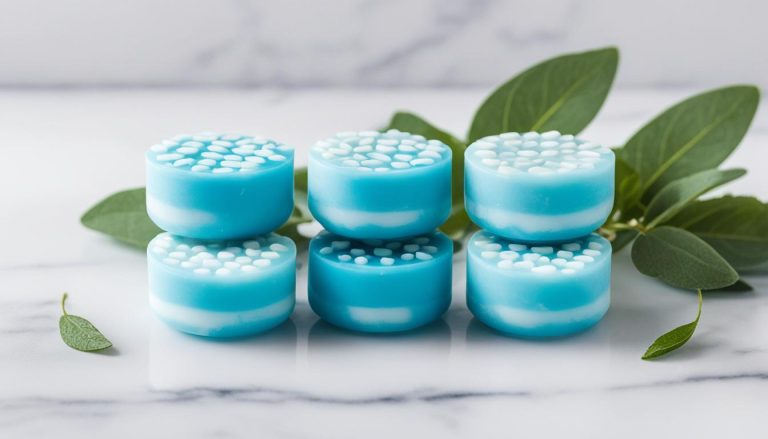
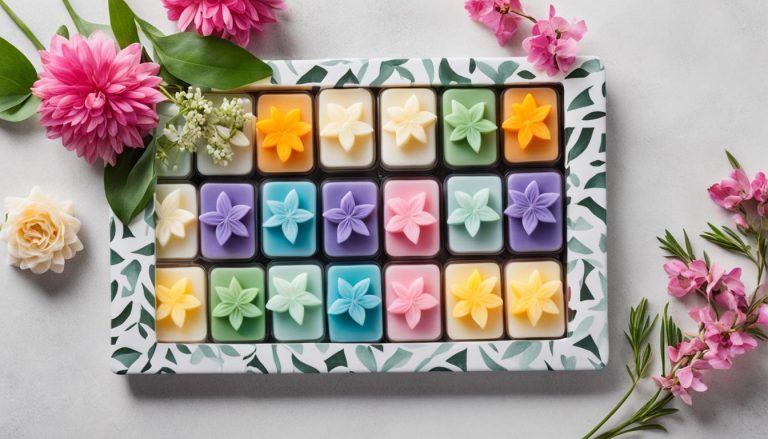
Squeezable wax melts are wickless scented pieces of wax that can be used to create beautiful aromas in your home. They are typically made from either soy or paraffin wax and come in various shapes and sizes. Unlike traditional wax melts that are placed in a burner and melted by a heat source, squeezable wax melts are designed to be scooped out of a jar and used in a similar fashion. They are easy to store, customizable in terms of the amount you use, and offer a simple and convenient way to enjoy your favorite fragrances.
With squeezable wax melts, you have full control over the amount of wax you use, allowing you to customize the intensity of the fragrance to suit your preferences. Whether you prefer a subtle scent or a more potent aroma, you can easily adjust the amount of wax you squeeze out. This makes them a versatile option for creating the perfect ambiance in any room of your home.
Ingredients and Materials Needed
Now that you’re ready to embark on your homemade wax melts journey, let’s gather all the ingredients and materials you’ll need. This homemade wax melts recipe requires just a few key items to get started.
Ingredients:
- Wax: Choose either soy or paraffin wax as the base for your squeezable wax melts. Soy wax is eco-friendly, while paraffin wax offers a longer burn time.
- Mineral oil: Adding mineral oil or other oil such as coconut oil prevents the wax from solidifying creating softer texture that makes it easier to scoop out the wax melts from the jar.
- Fragrance Oil: Select your favorite fragrance oil to infuse the wax melts with delightful scents. Choose oils specifically formulated for wax melts for optimal performance.
- Dye: If desired, add dye to the wax to achieve beautiful colors that match your preference and decor.
These ingredients can be easily sourced online or at your local craft store. Remember to choose high-quality ingredients for the best results.
Types of Wax
Soy wax: This is a popular choice for squeezable wax because it is soft, natural, and has a good scent throw. It is also readily available and relatively affordable. However, soy wax can be a bit more difficult to work with than other types of wax, as it can be prone to frosting (a white, cloudy appearance).
Paraffin wax: This is a petroleum-based wax that is also commonly used for making squeezable wax. It is less expensive than soy wax and is easier to work with, but it is not natural and does not have as good of a scent throw.
464 soy wax or 6006 paraffin soy wax both soft waxes and are excellent for creating squeezable wax. Avoid using pillar wax as doesn’t perform as well when wanting the wax to be squeezable.
Using the Right Oil with the Wax
Utilizing mineral oil in the production of squeezable wax can significantly influence the end squeezable wax’s quality. It has been noted that mineral oil may lead to separation issues when mixed with soy wax. For instance, when we have mixed a blend comprising 30 grams of soy wax and 60 grams of mineral oil this has shown tendencies to separate.
In addition, mineral oil is recognized for its ability to prolong the product’s shelf life substantially, unlike vegetable oils like soybean oil, which typically offer a shorter shelf life of approximately one year. The decision to opt for mineral oil or soy wax in your squeezable wax formulation hinges on various considerations, including shelf life preferences and the specific attributes you wish to achieve in the final product.
Materials:
- Melting Pot: A heatproof melting pot or double boiler for safely melting the wax and other ingredients.
- Digital Weighing Scales: Accurate scales to measure the precise amount of wax and other ingredients.
- Measuring Cup: A measuring cup to pour and mix the wax melts ingredients.
- Thermometer: A thermometer to monitor the temperature of the melted wax and ensure it’s within the recommended range.
- Metal Spoon: A metal spoon or stirring utensil for thoroughly mixing the ingredients and creating a smooth wax melt mixture.
- Jar: A jar or container for storing your finished squeezable wax melts.
Having all of these ingredients and materials ready beforehand will make the process smooth and enjoyable.
Now that you have everything you need, let’s move on to the step-by-step guide to making your very own squeezable wax melts.
Step-by-Step Guide to Making Squeezable Wax Melts
Creating your own squeezable wax melts (sometimes referred to as scoopable wax) is a simple process that allows you to customize the scents and textures to your liking. Follow these step-by-step instructions to make your own delightful squeezable wax melts:
Gather Your Ingredients and Materials
Before you begin, make sure you have all the necessary ingredients and materials ready:
- Soy or paraffin wax
- Coconut oil (optional for a softer texture)
- Fragrance oil of your choice
- Dye (optional for color)
- Melting pot
- Digital weighing scales
- Measuring cup
- Thermometer
- Metal spoon
- Jar for storing the wax melts
Melt the Wax and Coconut Oil
To begin, melt the wax and coconut oil together using either the double boiler method or the microwave method:
Double Boiler Method: Fill a pot with water and place a heatproof bowl or melting pot on top. Heat the water to a simmer, then place the wax and coconut oil in the bowl. Stir occasionally until fully melted and well combined.
Microwave Method: Place the wax and coconut oil in a microwave-safe container. Heat in short intervals, stirring in between each interval until fully melted and well combined. Be careful not to overheat or burn the wax.
Add Fragrance and Color
Once the wax and coconut oil are melted, remove them from the heat source and add your desired fragrance oil. Stir well to ensure the fragrance is evenly distributed throughout the mixture. If you prefer colored wax melts, add a small amount of dye and mix until the desired color is achieved.
To create custom scents you can learn about creating your own squeezable wax recipes to make your home or product, if you are looking to sell, unique.
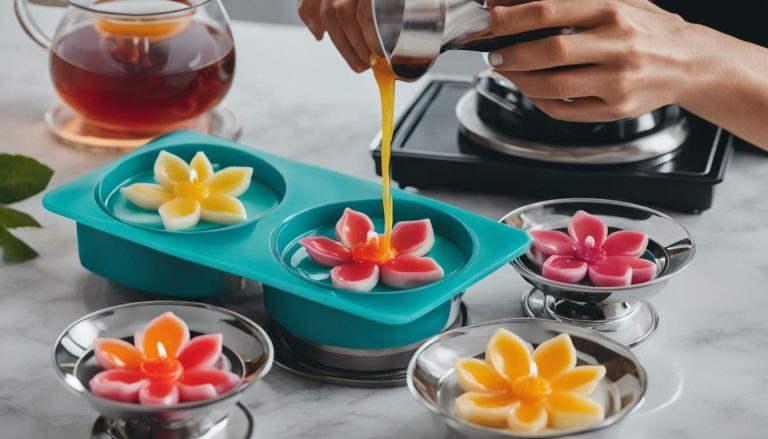
Pour into a Jar
Pour the melted wax mixture into a jar or container of your choice. Allow it to cool and solidify completely before moving or using the squeezable wax melts.
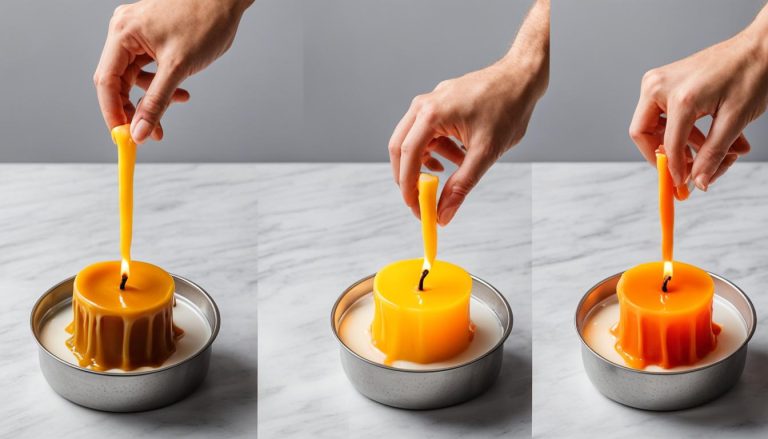
Enjoy Your Homemade Squeezable Wax Melts
Now that your squeezable wax melts have solidified, they are ready to use. Simply scoop out a desired amount from the jar and place it in a wax warmer or burner. Enjoy the delightful scents that fill your space!
With these easy-to-follow steps, you can create your own personalized squeezable wax melts for a fragrant and inviting home environment.

| Benefits of Making Squeezable Wax Melts at Home |
|---|
| 1. Cost-effective alternative to store-bought wax melts. |
| 2. Customizable fragrances to suit your preferences. |
| 3. Control over the ingredients and quality of the wax melts. |
| 4. Fun and creative activity for self-expression. |
| 5. Unique gift ideas for family and friends. |
Tips for Creating Homemade Wax Melts
Creating your own homemade wax melts allows you to customize the scents and create a unique ambiance in your home. Here are some tips to help you get the best results:
- Choose high-quality ingredients: Use premium wax, fragrance oils, and dyes to ensure a long-lasting and fragrant wax melt.
- Experiment with scent combinations: Mix different fragrance oils to create your own signature scent. Try combining floral and citrus scents or spice and vanilla for a delightful aroma.
- Avoid overpowering scents: While you want your wax melts to be fragrant, avoid using excessive amounts of fragrance oil. This can lead to an overpowering scent that may be unpleasant.
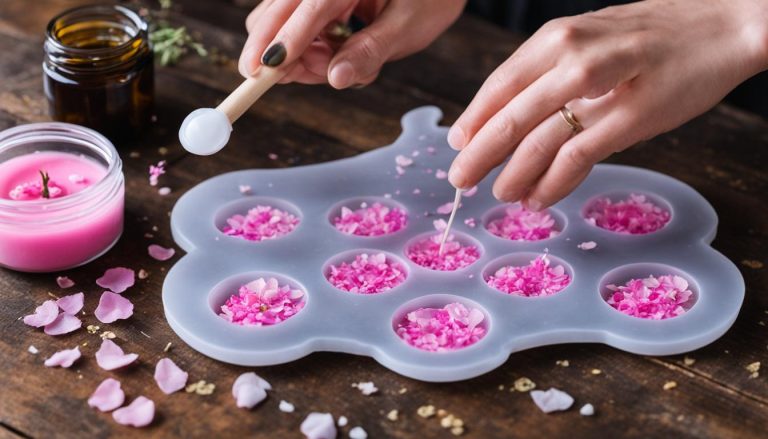
- Add texture with botanicals: Consider adding dried flowers, herbs, or spices to your wax melts to add visual appeal and a natural touch.
- Allow the wax melts to cure: Once you pour the melted wax into molds, let it sit undisturbed for at least 24 hours to allow it to fully harden and develop its scent.
- Store your wax melts properly: Keep your homemade wax melts in a cool, dry place away from direct sunlight to preserve their fragrance and quality.
- Label your creations: If you plan on making different scents, be sure to label each wax melt with its corresponding fragrance to easily identify them.
Pro Tip: Don’t be afraid to get creative and experiment with different shapes, colors, and sizes for your homemade wax melts. They make great gifts for friends and loved ones.

Best Ingredients for Squeezable Wax Melts
When it comes to making high-quality squeezable wax melts, selecting the right ingredients is key. Here are the best ingredients to use:
- Soy or Paraffin Wax: Both soy and paraffin wax can be used as the base for your squeezable wax melts. Soy wax is a popular choice for its eco-friendly properties and clean burn, while paraffin wax offers a longer burn time.
- Coconut Oil: Adding coconut oil to your wax mixture can help to soften the texture, making it easier to scoop out of the jar. It also adds a subtle scent and can enhance the overall performance of the melts.
- Fragrance Oil: To create irresistible scents, opt for fragrance oils that are specifically formulated for wax melts. These oils are designed to provide a strong and long-lasting aroma, ensuring that your space is filled with delightful fragrance.
- Dye (optional): If you want to add a pop of color to your squeezable wax melts, consider using a dye. This optional ingredient allows you to customize the appearance of your melts and create visually appealing combinations.
| Ingredient | Description |
|---|---|
| Soy or Paraffin Wax | Base ingredient for squeezable wax melts. Soy wax is eco-friendly, while paraffin wax offers a longer burn time. |
| Coconut Oil | Softens the wax and makes it easier to scoop out of the jar. Enhances performance and adds a subtle scent. |
| Fragrance Oil | Specifically formulated for wax melts, provides a strong and lasting scent. Allows for customization of fragrance. |
| Dye (optional) | Adds color for visual appeal. Optional ingredient to customize the appearance of your melts. |
By using these best ingredients, you can create squeezable wax melts that not only look great but also fill your space with captivating aromas.
Melting Techniques for Creating Squeezable Wax Melts
When it comes to creating squeezable wax melts, the melting process is crucial. Properly melted wax ensures a smooth and consistent texture, allowing you to create the perfect squeezable consistency. Here are two commonly used techniques for melting wax and coconut oil:
1. Double Boiler Method
The double boiler method provides gentle and even heat distribution, preventing the wax from scorching or burning. Here’s how you can use this technique:
- Fill a pot with water and place it on the stove.
- Bring the water to a simmer.
- Place a heatproof bowl or melting pot on top of the pot, making sure it fits securely.
- Add the desired amount of wax and coconut oil to the bowl.
- Stir occasionally until the wax and coconut oil have melted completely.
2. Microwave Method
If you prefer a quicker option, the microwave method can be used. Follow these steps for melting wax and coconut oil in the microwave:
- Place the desired amount of wax and coconut oil in a microwave-safe container.
- Heat the mixture in short intervals, typically 30 seconds each, stirring well in between.
- Continue heating and stirring until the wax and coconut oil are completely melted and well combined.
Remember to exercise caution when working with hot wax and always follow safety guidelines. Ensure that your work area is well-ventilated and free from any flammable materials.
Creating your own squeezable wax melts allows you to customize the scent and texture to perfectly suit your preferences. By mastering the melting techniques discussed above, you’ll be well on your way to enjoying the delightful aromas of your homemade wax melts.
Essential Oils for Scented Wax Melts
When it comes to creating scented wax melts, fragrance oils are typically the go-to choice due to their wide range of scents and their ability to bind well with the wax. However, if you prefer to use natural ingredients, essential oils can also be used to achieve delightful aromas in your wax melts. It’s important to note that essential oils may have a milder scent and do not bind as effectively with wax compared to fragrance oils.
If you decide to use essential oils for your scented wax melts, it’s recommended to use a higher concentration to ensure a stronger aroma. This means adding a bit more essential oil than you would with fragrance oils. Some popular essential oils for scented wax melts include lavender, citrus, eucalyptus, and vanilla. These oils not only bring pleasant fragrances to your space, but they also offer additional benefits such as relaxation, energy boost, or mood enhancement, depending on the oil chosen.
When using essential oils, it’s important to consider the quality and purity of the oil. Look for reputable brands that offer pure, undiluted essential oils. Additionally, be mindful of any potential sensitivities or allergies you or your household members may have and adjust the concentration or choose different oils accordingly. With the right essential oils, you can create scented wax melts that not only fill your home with captivating fragrances but also provide therapeutic properties.
First Hand Problems that Can Arise when Making Squeezable Wax
Creating squeezable wax melts can take some experimenting to get completely right. We recently spoke to lady from Cleveland, Ohio called Gemma with regard to numerous problems she was having creating squeezable wax.
I spent six months trying to make squeezable wax melts work. It all started with a video I saw about using squeezable wax in a warmer. I thought it was a cool idea, so I decided to try making it myself.
I tried a lot of different things. I used many types of wax like beeswax coconut, soy, and paraffin. I also tried mixing in different oils like vegetable oil, mineral oil, and coconut oil, carefully following squeezable wax recipes I found online. But nothing so far seemed worked.
For Gemma the problem ultimately related to the type of wax used. Essentially she was using pillar wax and this can have variable results which shows through in her frustrations.
We got to get hold of some IG6006 paraffin-soy wax (parasoy) and with a couple more experiments she found the answer is now happily working away creating her own wax melts.
FAQ
What are squeezable wax melts?
Squeezable wax melts are wickless scented pieces of wax that can be scooped out of a jar and used to create beautiful aromas in your home.
What ingredients and materials do I need to make squeezable wax melts?
To make your own squeezable wax melts, you will need wax (either soy or paraffin), coconut oil (optional for a softer texture), fragrance oil of your choice, dye (optional for color), a melting pot, digital weighing scales, measuring cup, thermometer, metal spoon, and a jar for storing the wax melts.
Can you provide a step-by-step guide for making squeezable wax melts?
Follow these steps to make your own squeezable wax melts: 1. Gather all the ingredients and materials. 2. Measure and melt the wax and coconut oil using the double boiler method or microwave. 3. Add fragrance oil and dye, if desired. 4. Stir the mixture well. 5. Pour the melted wax into a jar for storage. 6. Allow the wax to cool and solidify. 7. Scoop out a desired amount of wax and place it in a wax melt burner.
What are some tips for creating homemade wax melts?
Here are some helpful tips for creating homemade wax melts: 1. Use fragrance oils specifically formulated for wax melts for a strong and lasting scent. 2. Experiment with different scent combinations to create unique fragrances. 3. Add coconut oil to the wax for a softer and easier-to-scoop texture. 4. Use digital weighing scales for precise measurements. 5. Stir the wax mixture well to ensure even fragrance distribution.
What are the best ingredients for squeezable wax melts?
The key ingredients for making high-quality squeezable wax melts include soy or paraffin wax, coconut oil for a softer texture, fragrance oil for a strong and lasting scent, and dye for color (optional).
What are the melting techniques for creating squeezable wax melts?
The most common melting techniques for creating squeezable wax melts are the double boiler method and the microwave method. The double boiler method involves melting the wax and coconut oil in a heatproof bowl placed over a pot of simmering water, while the microwave method involves melting the wax and coconut oil in a microwave-safe container in short intervals.
Can I use essential oils for scented wax melts?
Yes, you can use essential oils for scented wax melts. However, it’s important to note that essential oils do not bind as well with wax and may have a milder scent. If using essential oils, it’s recommended to use a higher concentration to achieve a stronger aroma.