Wax Melts How to Make: Easy DIY Scented Guide
waxmelts.info and its partners may earn a commission if you purchase a product through one of our links
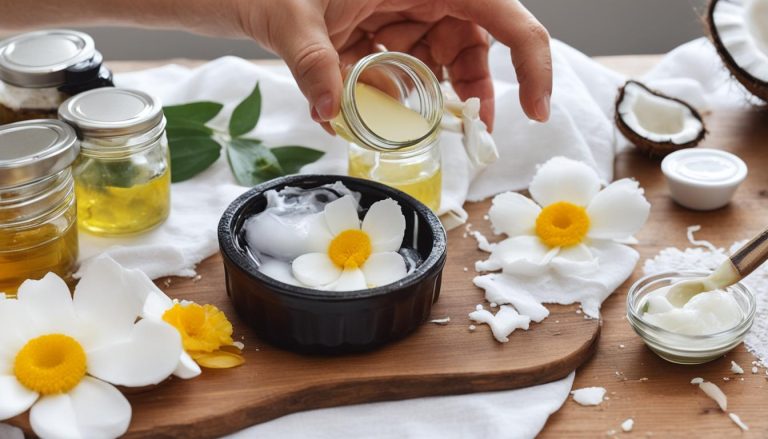
Learn how to make wax melts with this simple recipe and tutorial that can be used with both paraffin and soy wax. Wax melts are small pieces of scented wax that are heated in an electric wax warmer to release their fragrance. They’re quick, easy, and fun to make, and they make fabulous gifts. Wax melts are safer than candles since there’s no open flame, and they can be left unattended. The best wax for DIY wax melts is soy wax because it’s easy to work with and clean up. Silicone candy molds are ideal for making wax melts because they can handle the heat and come in a variety of fun shapes.
Key Takeaways:
- Wax melts are small pieces of scented wax that are heated in an electric wax warmer to release their fragrance.
- They are quick, easy, and fun to make, and they make fabulous gifts.
- Wax melts are safer than candles since there’s no open flame, and they can be left unattended.
- The best wax for DIY wax melts is soy wax because it’s easy to work with and clean up.
- Silicone candy molds are ideal for making wax melts because they can handle the heat and come in a variety of fun shapes.
What Are Wax Melts and How Are They Different From Candles?
Wax melts have quickly gained popularity as a safer alternative to burning scented candles. These small pieces of scented wax are designed to be heated in an electric wax warmer, releasing their delightful fragrance into the air. Unlike traditional candles, wax melts don’t have an open flame, making them a safer choice for homes, apartments, and other settings where candles may not be allowed. You can enjoy the wonderful aroma of scented wax melts without the worry of a burning flame, and they can be left unattended while still filling your space with fragrance.
The composition of wax melts is similar to that of scented candles. Both are typically made using materials like paraffin, soy wax, or beeswax mixed with fragrance oils and wax dye. However, the main difference lies in the size and form. Candles are larger and have a wick for burning, while wax melts are poured into molds to create smaller pieces in various shapes. This allows for greater flexibility and creativity in choosing your favorite scents and designs.
Whether you prefer the warm ambiance of burning scented candles or the convenience and versatility of wax melts, both options offer delightful fragrances to enhance your living space. The choice between wax melts and candles ultimately depends on your personal preferences and circumstances. But if you’re looking for a safer alternative, especially for apartments or places where open flames may not be suitable, wax melts are definitely worth considering.
| Wax Melts | Scented Candles |
|---|---|
| No open flame | Requires a burning wick |
| Can be left unattended | Requires supervision when burning |
| Great for apartments | May have restrictions in certain settings |
| Various shapes and designs | Typically larger in size |
Wax melts offer a safer and more versatile way to enjoy scented fragrances, without the need for an open flame. Whether you choose wax melts, scented candles, or a combination of both, the goal is to create a welcoming and pleasant atmosphere in your home.
The Best Wax for DIY Wax Melts
If you’re looking to make your own wax melts, you may be wondering which type of wax is the best choice. While you can use any kind of wax for your DIY projects, soy wax is highly recommended, especially for beginners.
Soy wax is a popular choice for making wax melts because it offers several advantages. First, it is easy to work with and clean up, making the process more enjoyable and hassle-free. Additionally, soy wax has a lower melting point compared to other waxes, which gives you more time to work with it before it solidifies and becomes difficult to handle. This makes it ideal for those who are new to making wax melts.
Paraffin wax and beeswax are also commonly used to make wax melts. The recipes for these waxes are similar to that of soy wax, with the only real difference being the melting methods. Paraffin wax has a higher melting point, so it may require more precision during the melting process. Beeswax, on the other hand, has a natural scent and color that can add a unique touch to your wax melts.
Regardless of the wax you choose, it’s important to ensure that you are using high-quality wax from reputable brands. This will help ensure that your wax melts have a strong scent throw and a smooth texture.
| Wax Type | Advantages | Disadvantages |
|---|---|---|
| Soy Wax | Easy to work with and clean up Lower melting point for easier handling | May have a shorter shelf life compared to other waxes |
| Paraffin Wax | High scent throw Longer shelf life | Higher melting point requires precision during melting |
| Beeswax | Natural scent and color Adds a unique touch to wax melts | Higher cost compared to other waxes |
Overall, the best wax for DIY wax melts depends on your personal preferences and experience level. Soy wax is a great choice for beginners due to its ease of use and lower melting point. However, if you’re looking for a specific scent or unique properties, paraffin wax or beeswax may be more suitable. Experimentation is key to finding the wax that works best for you and brings your wax melts to life!
Tips for Working with Wax:
- Use a double boiler or a wax melting pot to melt the wax evenly.
- Add dye or colorants sparingly, as a little goes a long way.
- When adding fragrance oils, follow the recommended usage rates for optimal scent throw.
- Stir the wax gently and slowly to avoid incorporating air bubbles.
- Allow your wax melts to cool and fully harden before removing them from the molds.
Now that you know the best wax options for your DIY wax melts, it’s time to move on to choosing the perfect molds for your creations. Check out the next section to explore the differences between silicone and clamshell molds.

Wax Melt Molds: Silicone vs Clamshell
When it comes to making wax melts, choosing the right molds is essential. Two popular options are silicone candy molds and clamshell molds. In this section, we’ll explore the differences between these two types of molds and their advantages.
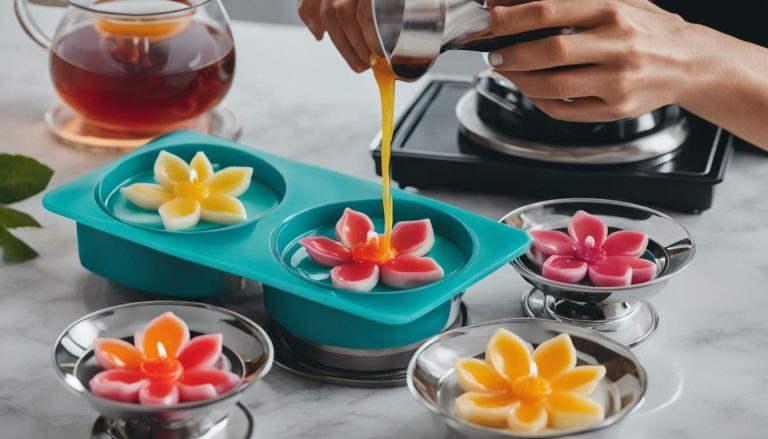
Silicone Candy Molds
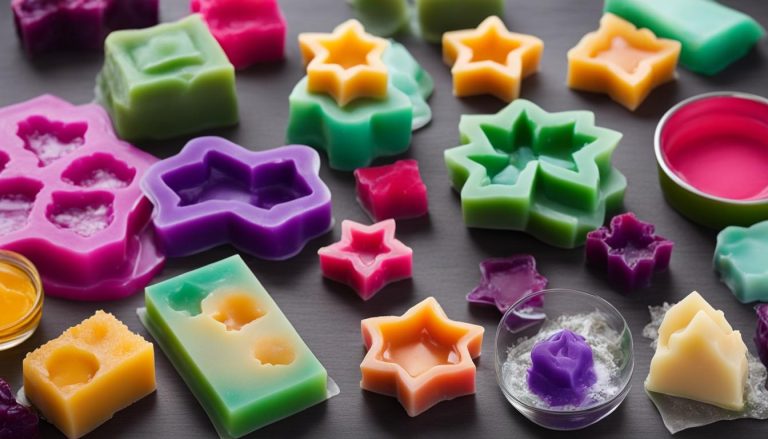
Silicone candy molds are a popular choice for making wax melts. These molds are made from flexible and heat-resistant silicone material, allowing them to handle the high temperatures required for melting wax. With silicone molds, you can easily create wax melts in a variety of fun shapes and sizes.
One of the main advantages of silicone candy molds is their ease of use. The flexibility of the silicone allows for easy removal of the hardened wax melts once they have cooled and solidified. This makes the process much simpler and ensures that your wax melts maintain their shape and details.
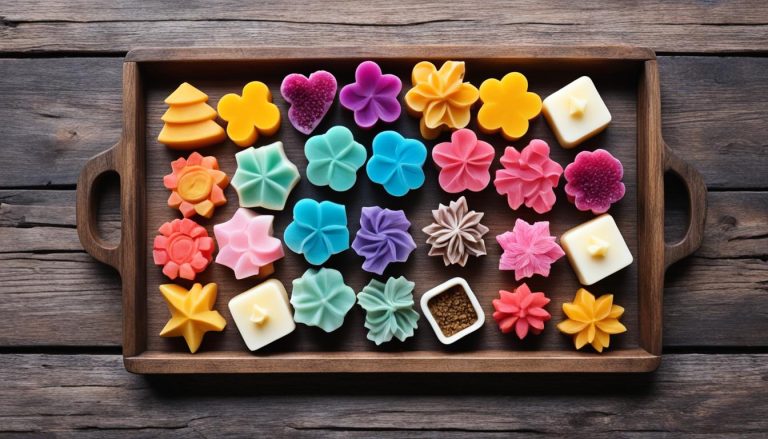
If you’re looking for unique and eye-catching designs, silicone molds are the way to go. You can find a wide range of silicone wax melt molds on Amazon, offering shapes ranging from pineapples and flamingos to Christmas trees and gummy bears. These molds allow you to get creative and add a touch of personality to your wax melts.
Clamshell Molds
Another option for making wax melts is using clamshell molds. These disposable plastic molds are a convenient choice, especially if you’re planning to give your wax melts as gifts or sell them. Clamshell molds eliminate the need for extra plastic wrapping and provide a professional and finished look to your wax melts.
Clamshell molds are designed in a way that allows you to easily snap them open and closed. This makes it effortless to fill the molds with melted wax, and they provide a secure closure, ensuring the wax doesn’t leak or spill during cooling.
While clamshell molds may not offer as wide a variety of shapes as silicone molds, their simplicity and practicality make them a popular choice among wax melt makers. They provide a clean and uniform shape for your wax melts and are an excellent option if you prefer a more traditional look.

Step-by-Step Guide to Making Wax Melts
Follow these simple directions for making your own wax melts at home. Gather the following materials:
- Paraffin wax or soy wax flakes
- Wax dye (optional)
- Metal pitcher
- Plastic eye dropper
- Candle fragrance oil of your choice
- Digital meat thermometer
Here is the step-by-step process:
- Measure the desired amount of wax flakes into the metal pitcher. Use the digital meat thermometer to monitor the temperature.
- Place the metal pitcher in a double boiler or create a makeshift one by placing it in a larger pot filled with water. Heat the water on low heat until the wax flakes melt. Stir occasionally to ensure even melting.
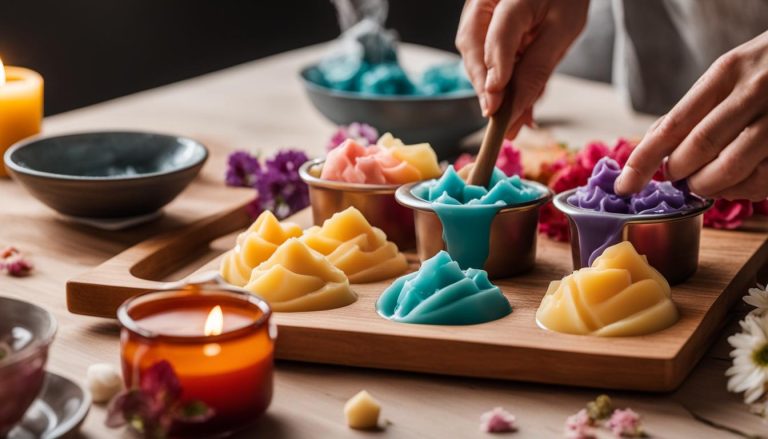
- If desired, add a few drops of wax dye to achieve the desired color. Stir well to distribute the color evenly.
- Once the wax is completely melted and mixed with the dye, remove the pitcher from heat. Allow it to cool slightly before adding the fragrance oil.
- Add a few drops of your chosen fragrance oil to the melted wax. The amount may vary depending on your preference and the fragrance’s strength. Stir well to ensure the fragrance is evenly distributed throughout the wax.
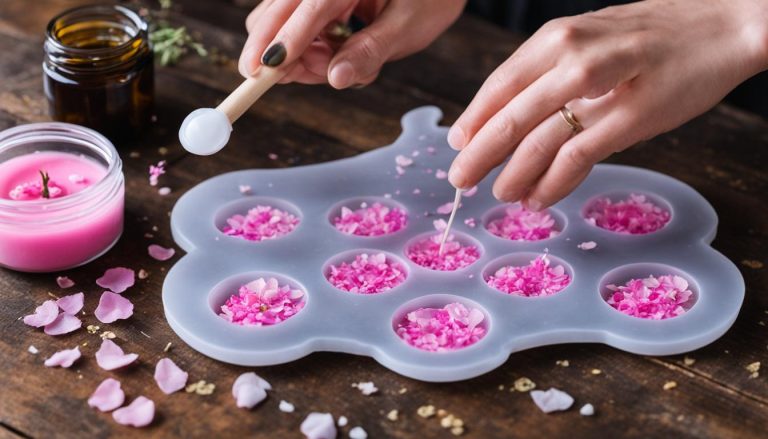
- Place your desired wax melt molds on a flat surface and carefully pour the scented wax into the molds using the plastic eye dropper. Fill each mold to the top, but avoid overflowing.
- Allow the wax melts to cool and harden completely. This typically takes about 1-2 hours, depending on the size of the molds and the room temperature.
- Once the wax is fully hardened, pop the wax melts out of the molds. If necessary, gently tap the molds against a hard surface to release the melts.
- Your homemade wax melts are now ready to use! Store them in an airtight container or plastic bag until you’re ready to use them.
Enjoy the delightful aroma of your homemade wax melts in your wax warmer, and experiment with different combinations of fragrance oils and dyes to create your own unique scents and colors!
Benefits and Tips for Making Wax Melts
There are numerous benefits to making your own wax melts. Not only is it a cost-effective way to enjoy scented wax melts, but you also have the freedom to customize the scents according to your preferences. With endless possibilities, you can create unique and personalized fragrances that suit your mood and style.
Furthermore, wax melts offer a safer alternative to burning candles. Since there is no open flame involved, you can enjoy the beautiful scents without worrying about potential fire hazards. This makes wax melts perfect for use in homes, apartments, and other spaces where open flames may be prohibited or pose a risk.
If you’re new to making wax melts, here are some helpful tips to get you started. When it comes to coloring your wax melts, consider using mica powder or crayons. These options provide vibrant colors and are easy to work with. Additionally, you can enhance the aesthetic appeal of your wax melts by adding inclusions such as dried flowers, herbs, or decorative elements like glitter.
To achieve a stronger fragrance, allow your wax melts to cure for 7-10 days in an airtight container or plastic bag. This resting period allows the scents to blend and intensify, resulting in a more powerful and long-lasting fragrance when melted. Lastly, it’s important to store your wax melts in a cool, dark area to maintain their quality and prevent them from melting prematurely.
FAQ
How do I make wax melts at home?
Here is a step-by-step guide on how to make wax melts:
What are wax melts and how are they different from candles?
Wax melts are small pieces of scented wax that are heated in an electric wax warmer to release their fragrance. They are an alternative to burning scented candles and are safer because there is no open flame. Wax melts are also great for apartments and places where candles are not allowed.
What is the best wax for DIY wax melts?
Soy wax is the best choice for beginners. It is easy to work with and clean up, and has a lower melting point than other waxes, giving you more time to work with it before it solidifies. However, you can use paraffin wax or beeswax as well.
What are the different types of wax melt molds?
The two popular options for wax melt molds are silicone candy molds and disposable clamshell molds. Silicone molds can handle the heat, come in a variety of fun shapes, and make it easy to remove the melts. Clamshell molds are convenient and give your wax melts a professional look.
What materials do I need to make wax melts?
To make wax melts, you will need paraffin or soy wax, wax dye for color (optional), a metal pitcher for melting the wax, a plastic eye dropper for filling the molds, and candle fragrance oil for scent.
What are some benefits and tips for making wax melts?
Making your own wax melts is cost-effective and allows you to customize the scents to your preference. They are a safer alternative to burning candles as there is no open flame. Some tips include using mica powder or crayons for coloring, adding inclusions for scent and decoration, letting wax melts cure for a stronger fragrance, and storing them in a cool, dark area.